
Step by step procedure to add Cloundfront CDN in WordPress blog with SSL certificate. Screenshot included for better understanding.
In this article, we will walk you through steps where we gonna configure AWS CloudFront CDN for WordPress blog under W3TC (W3 Total Cache) plugin. We will be using basic setup under AWS CloudFront so we won’t be using IAM authentication and accesses in our configuration.
See Cloudfront content delivery network pricing here.
We assume below pre-requisites are completed before moving on with this tutorial.
- You have logged in WordPress console of your blog with Admin login
- You have W3TC plugin installed in WordPress blog
- You have logged in AWS account
- You have access to change zone files for your domain (required to have fancy CDN CNAMEs)
Without further delay lets jump in to step by step procedure to add Cloudfront CDN in WordPress blog with screenshots.
AWS certificate manager
You can skip this step if your blog is not https enabled.
In this step, we will import your SSL certificate in AWS which needs to be used with Cloudfront distributions in case you are using fancy URL (like c1.kerneltalks.com) for distributions instead of default system generated XXXXXX.cloudfront.net
You can skip this step if you want to buy an SSL certificate from Amazon and don’t want to use your own. If you are ok to use system-generated distributions name like askdhue.kerneltalks.com and don’t want custom CNAME like c1.kerneltalks.com then also you can skip this step.
You can buy an SSL certificate from many authorized bodies or you can get open source Lets Encrypt SSL certificate for free.
Log in to the AWS certificate manager console. Make sure you use region US East (N. Virginia). Since only certificates stored in this region are available to select while creating Cloudfront distributions. Click on Get Started and in the next screen click Import a certificate. You will be presented with the below screen.

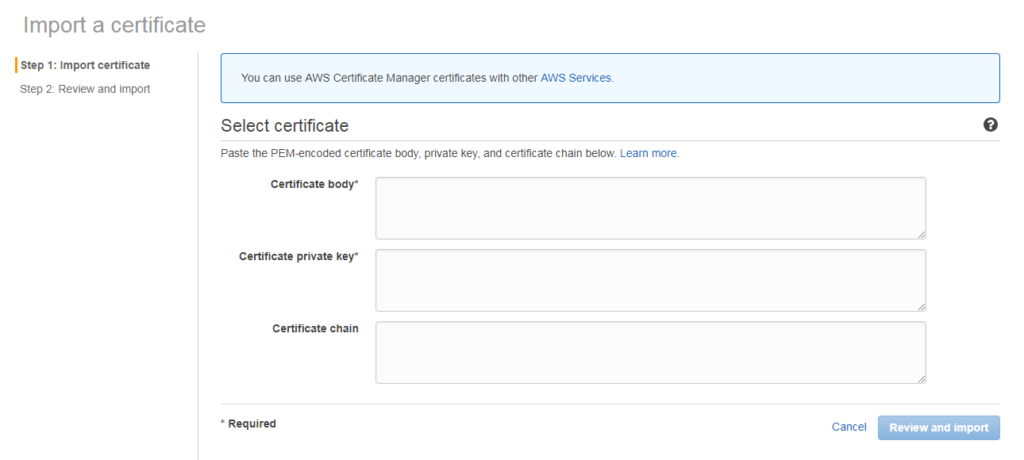
Fill in your certificate details in the fields above. Certificate body will have your SSL certificate content, then private key, and finally certificate chain (if any). Click Review and import.
These filled in details will be verified and information fetched from it will be shown on screen for your review like below.

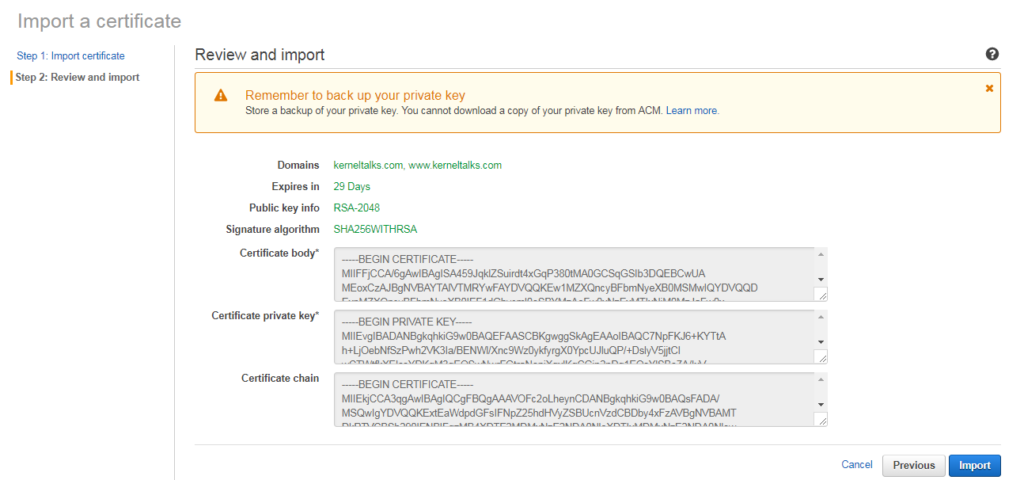
If everything looks good click Import. Your certificate will be imported and details will be shown to you in the dashboard.
Now, we have our SSL certificate ready in AWS to be used with Cloudfront distributions custom URLs like c1.kerneltalks.com. Let’s move on to creating distributions.
AWS Cloudfront configuration
Login to AWS Cloudfront console using your Amazon account. On left hand side menu bar make sure you have Distributions selected. Click Create Distribution button. Now, you will be presented with wizard step 1. Select the delivery method.
Click Get Started under the Web delivery method. You will see below screen where you need to fill in details –

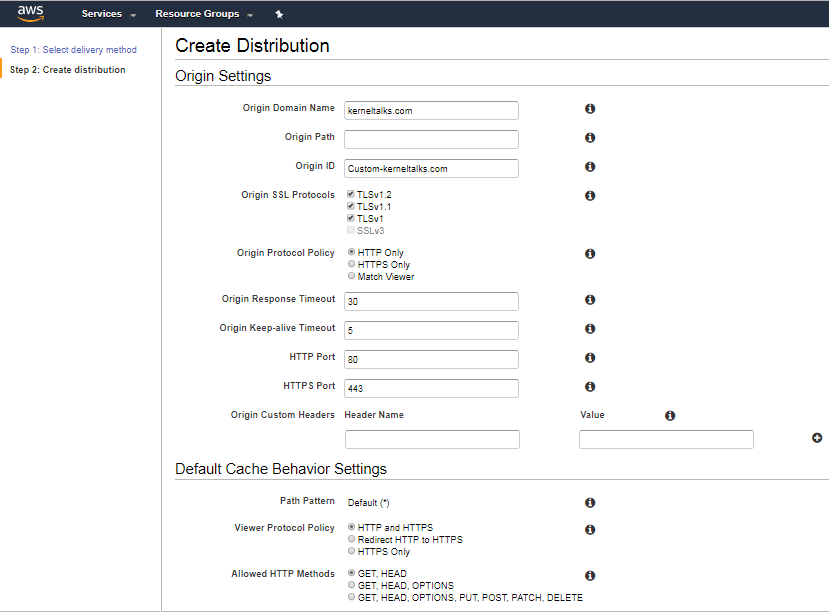
Below are few fields you need to select/fill.
- Origin Domain Name: Enter your blog’s naked domain name e.g. kerneltalks.com
- Origin ID: If you like autogenerated value keep it or you can name it anything.
- Origin protocol policy: Select HTTPS only.
- Viewer Protocol Policy: Redirect HTTP to HTTPS
- Alternate Domain Names: Enter fancy CDN name you want like c1.kerneltalks.com
- SSL certificate -> Custom SSL certificate: You should see your imported certificate from the previous step here.
There are many other options which you can toggle based on your requirement. The above listed are the most basic and needed for normal CDN to work. Once done, click Create Distribution.
You will be redirected back to distributions dashboard where you can see your created distribution and its status as In progress. This means now AWS is fetching all content files like media, CSS, JS from your domain hosting server to their edge servers. In other words, you can say your CDN zone is being deployed. Once all sync completes, its state will be changed to Deployed . This process will take time depending on how big your blog is.
Meanwhile, your distribution is being deployed you can head back to your zone file editor (probably in cPanel) and add entries for CNAME you mentioned in distribution setting (e.g. c1.kerneltalks.com)
CNAME entry
You can skip this step if you are not using custom CNAME for your Cloudfront distribution
Goto zone file editor for your domain and add CNAME entry for the custom name you used above (here c1.kerneltalks.com) and point it to the Cloudfront URL of your distribution.
Cloudfront URL of your distribution can be found under Domain Name in above distributions dashboard screenshot. It’s generally in format XXXXXXX.cloudfront.net
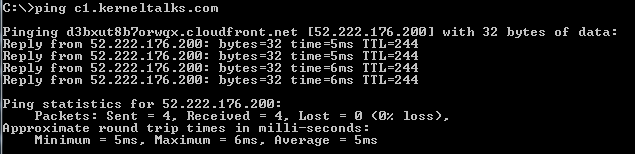
This will take a few mins to hours to propagate change through the internet web. You can check if it’s live on the internet by pinging your custom domain name. You should receive pingback from cloudfront.net

That’s it. You are done with your AWS configurations. Now, you need to add this custom CNAME or cloudfront.net name in W3TC settings in your WordPress admins panel.
W3TC settings
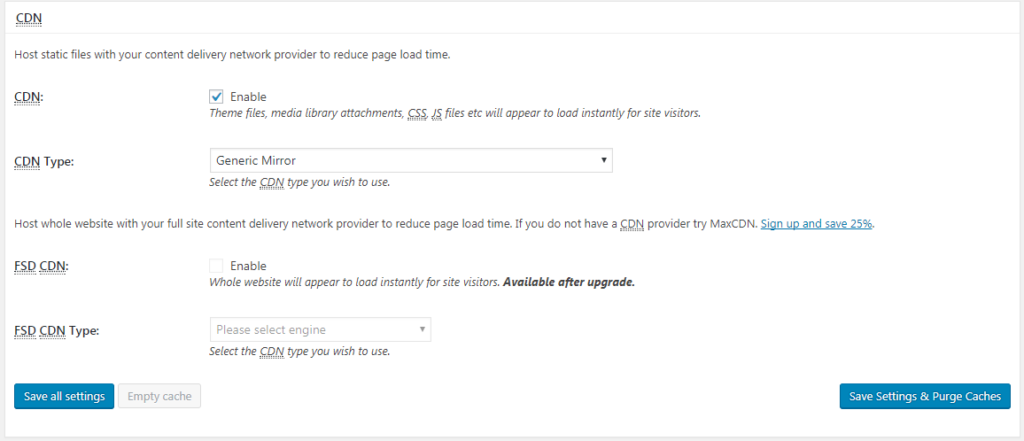
Login to the WordPress admin panel. Goto W3TC General Settings and enable CDN as per the below screenshot.

Goto W3TC CDN settings.
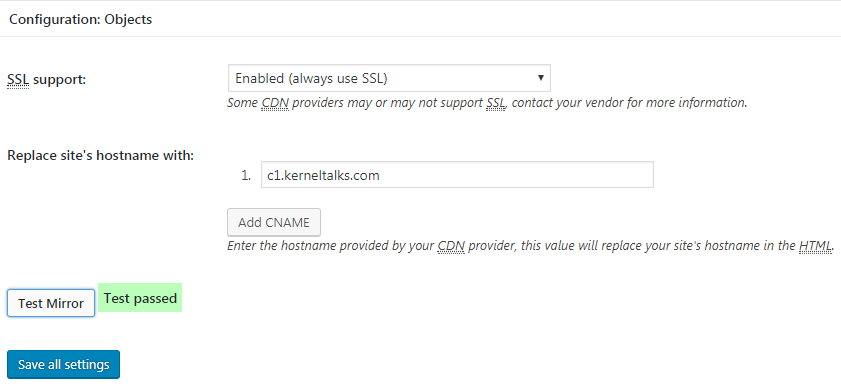
Scroll down to Configuration: Objects . Select SSL support as Enabled and add your CNAME in below Replace site's hostname with:
Once done click on Test Mirror and you should see it passed. Check the below screenshot for better understanding.

If your test is not being passed, wait for some time. Make sure you can ping that CNAME as explained above and your Cloudfront distribution is deployed completely.
Check blog for Cloudfront CDN
That’s it. Your blog is serving files from Cloudfront CDN now! You can open the website in a new browser after clearing cookies. View website’s source code and look for URLs with your custom domain name (here c1.kerneltalks.com) and you will see your CSS, JS, and media files URL are not of your naked domain (here kerneltalks.com) but from CDN (i.e. c1.kerneltalks.com)!
To server files parallelly you can create more than 1 (ideally 4) distributions in the same way and add their CNAMEs in W3TC settings.
Enjoy lightning fast web pages of your blog!