
Step by step procedure to transfer domain from Godaddy to Route 53


In this article, we will walk you through the migrating a domain from Godaddy to AWS Route 53. The process remains almost similar to even another domain registrar to Route 53 but I provided screenshots from Godaddy since I had a domain registered there which I transferred.
We will be migrating my other domain (shrikantlavhate.in) from Godaddy to Route 53 in this article. It’s a 5-6 days procedure where domain transfer approval will be held by the previous registrar. Its a failsafe so you can cancel the transfer if you have not initiated it or want to rollback your action.
Unlock domain for transfer
Login to your current registrar (in our case Godaddy) and unlock the domain for transfer. Goto Manage domains or domain settings and turn off domain lock.
In Godaddy navigation is – Products page > Domains > Click Manage
Then on the domain settings page, scroll down to domain lock where it says – ‘Locking prevents unauthorized changes, including transfer to another registrar.
Domain lock: On‘
Click on Edit button beside it, and turn it off.
Now, your domain is unlocked for transfer.
Initiate transfer from AWS Route 53
To start with you should be having an AWS account (comes with 12 months free tier for new accounts). If you haven’t done this already then, go ahead and sign up for it. You will need a valid email address and credit card information during the signup procedure.
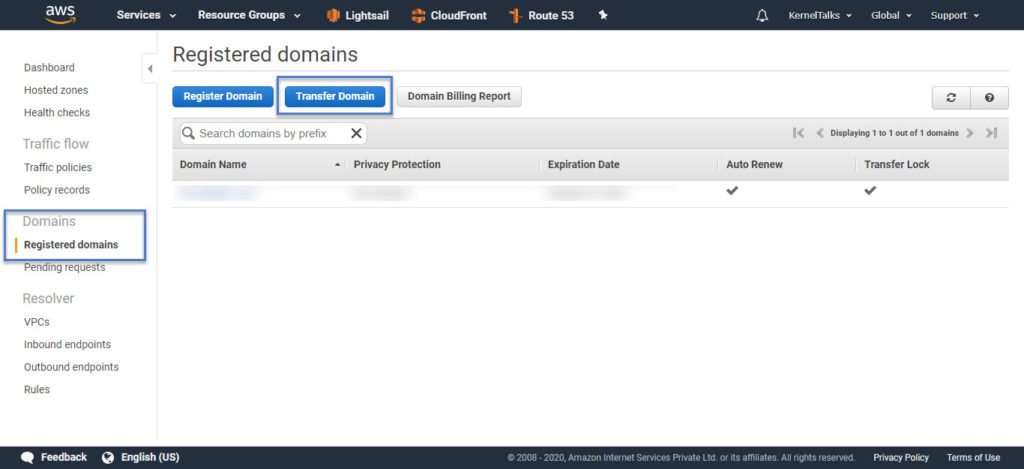
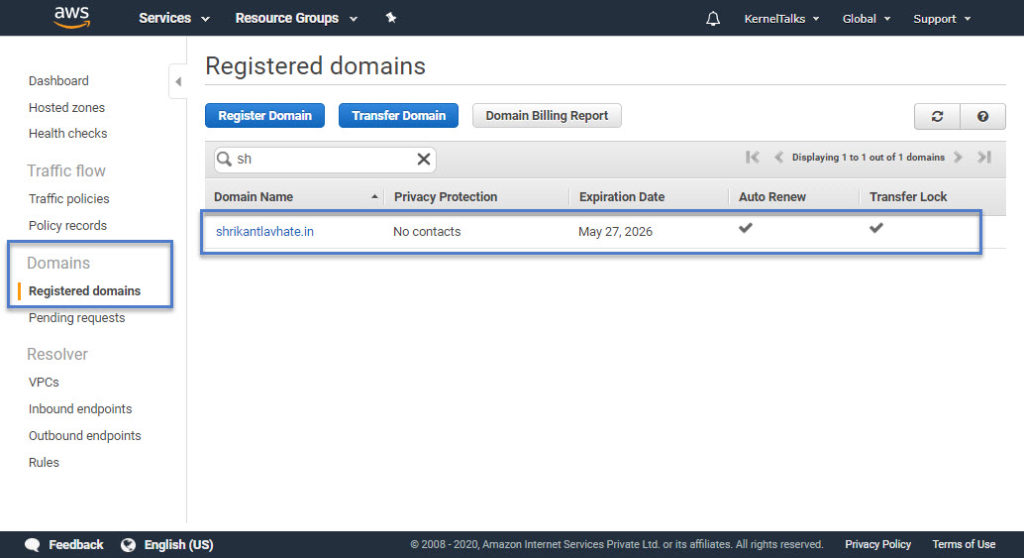
Once done, sign in to Route 53 management console. Click on ‘Registered domains‘ link in the left-hand side menu and then click ‘Transfer domain‘

If you missed unlocking your domain in the current registrar as mentioned above you will see the error here like domain can not be transferred to Route 53. Example below –

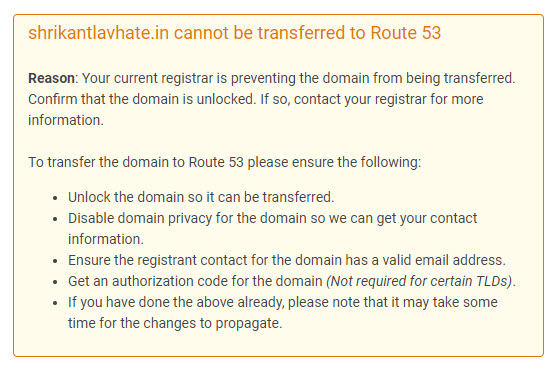
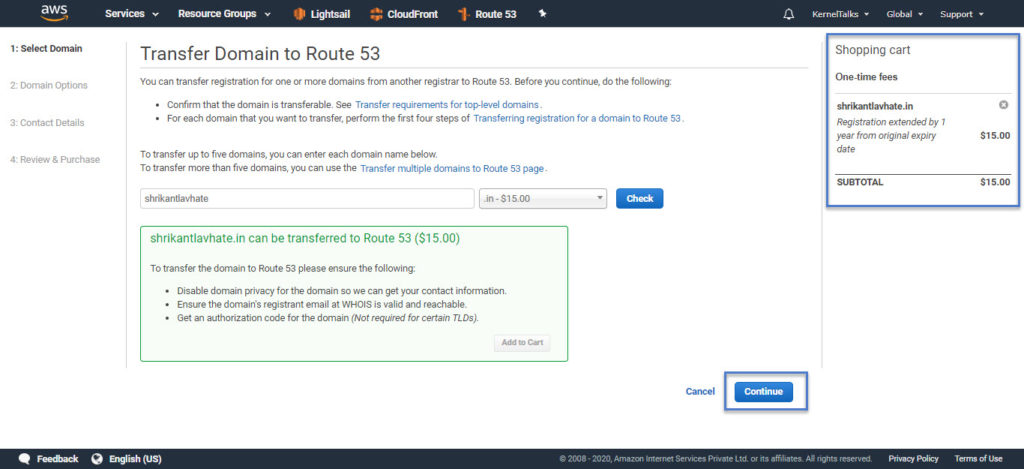
So ensure you have unlocked domain for transfer and punch in domain name in the wizard and hit check. It will confirm domain can be transferred now.
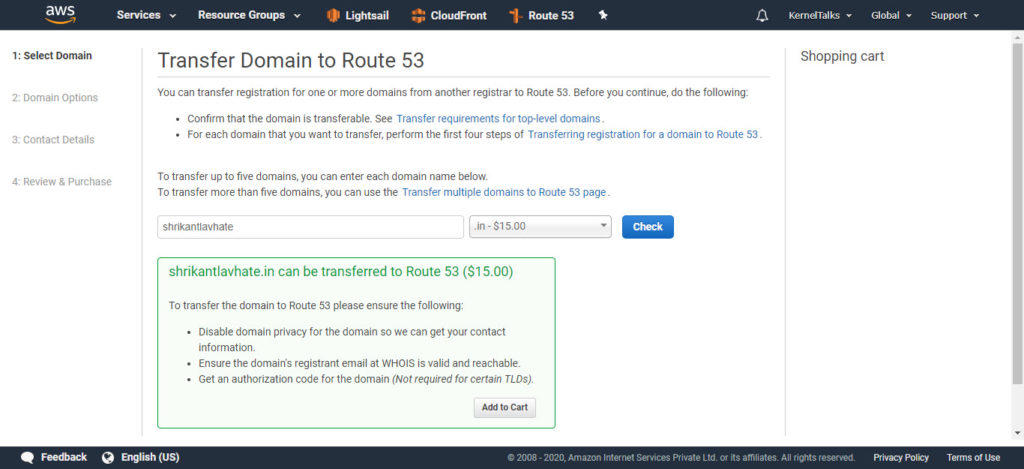
Click on ‘Add to cart‘ and it will show you billing total on the right-hand side. Make a note that, AWS renews your domain for one year from its current expiry date during transfer and this renewal fee is also included in that billing total. Confirm and click ‘Continue‘
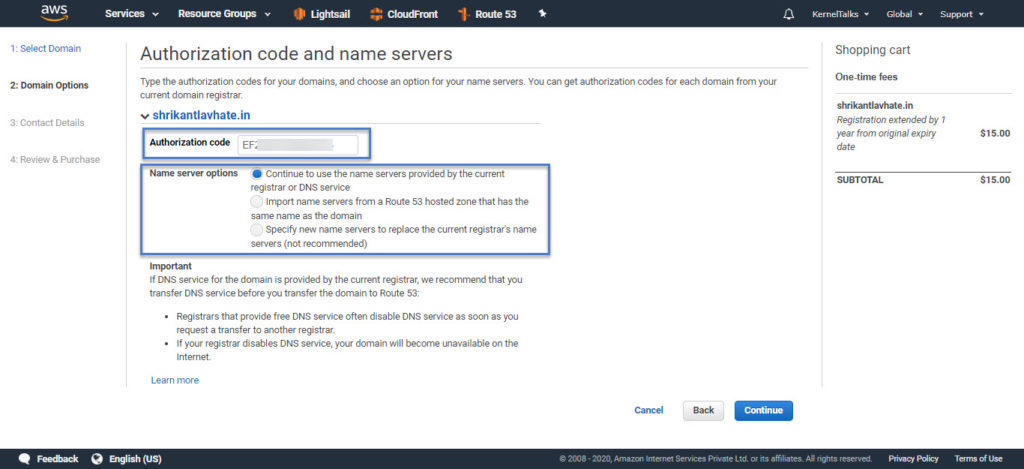
On the next screen you need to provide –
- Authorization code
- You can get this from current domain registrar portal
- Nameservers
- You can choose to keep the same nameservers currently being used by a domain. AWS will copy them.
- Import from hosted one in Route 53 (if you have created it already)
- Specify manually
In the Godaddy domain manager page, click on ‘Transfer domain away from GoDaddy‘ link to get authorization code. I choose to keep current nameservers for now.
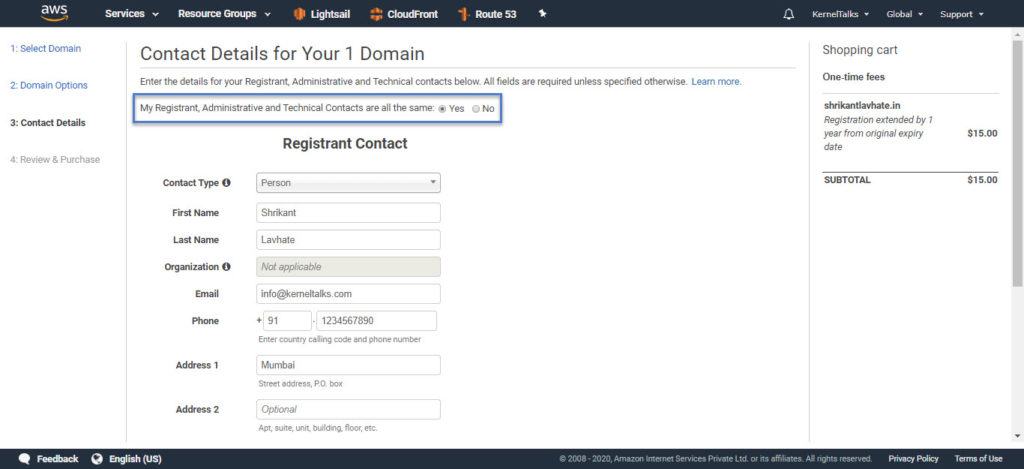
On the next page, you need to fill in contact details. Note that these details will be publicly accessible from the WHOIS database. You can choose to opt-out of it by enabling ‘Privacy protection‘ at the end of the same page. But this option is not available for some domains like .in 🙁
You can define 3 different contact details for Registrant, Administrative, and Technical context. I choose to keep one for all.
Once done hit the ‘Continue‘ button at the bottom of the page. On the next page, it will ask you to confirm all the details you filled in since the beginning. Choose here if you want to auto-renew your domain or not (this can be changed later as well) and accept the terms to complete your order.
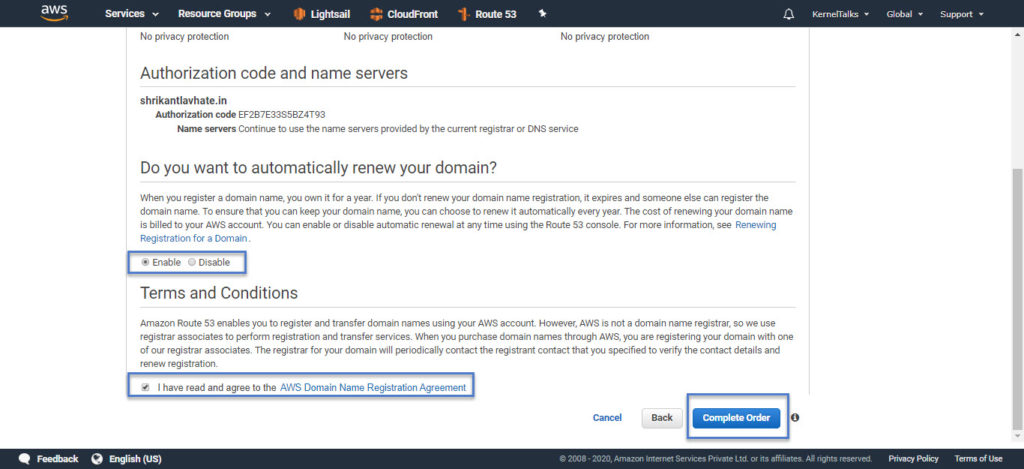
That’s all. Your order has been placed and the billed amount will be debited from your card which you provided at the time of AWS account creation.
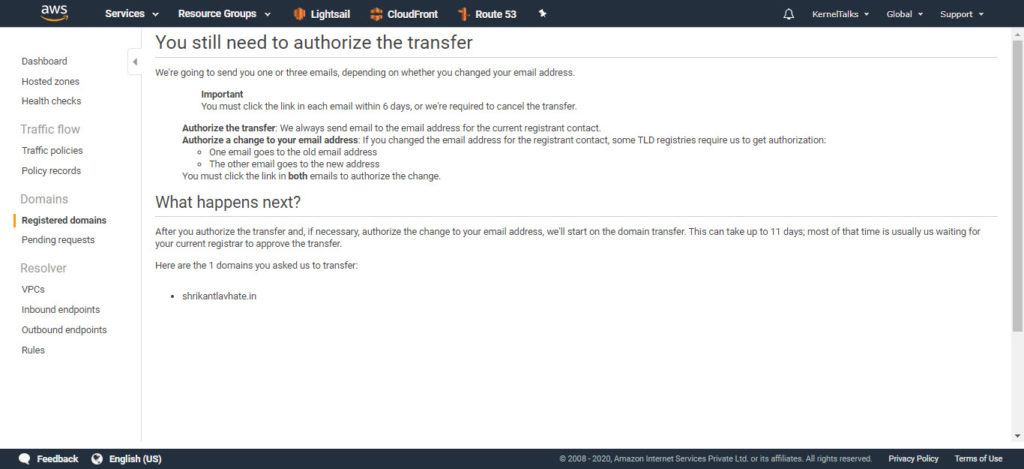
You will be presented with an informational page below which is self-explanatory.
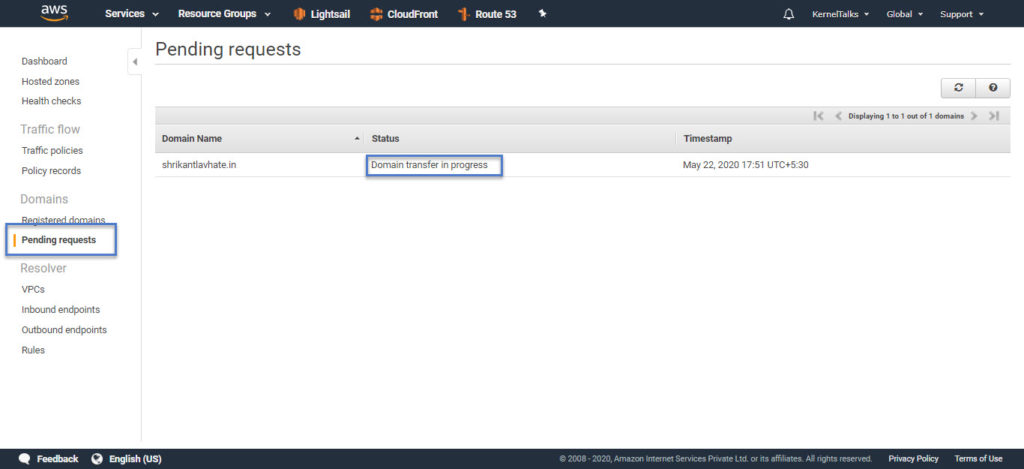
You can verify domain transfer status be navigating to ‘Pending requests‘ in the left hand side menu.
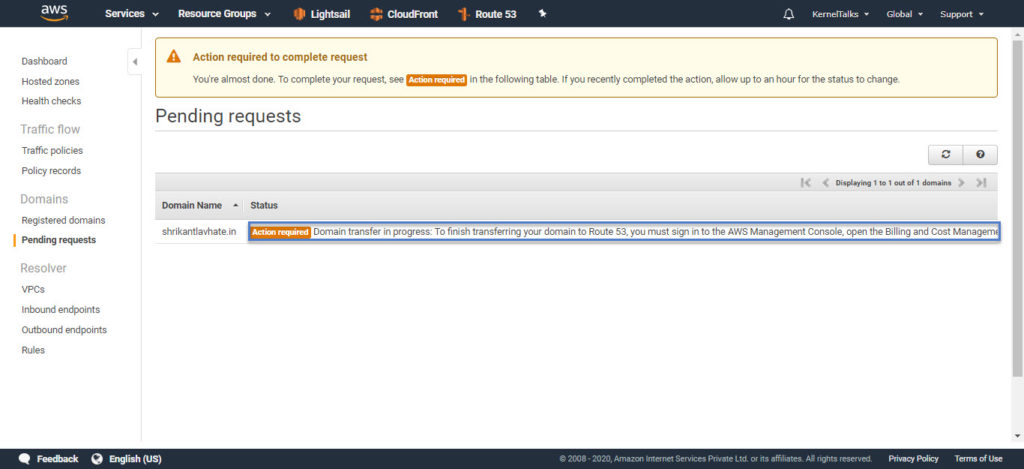
In some countries credit cards can not be debited directly as OTP is mandated by their federal bank regulations. In such cases, you might see ‘action required’ status as below which itself tells you what to do. In my case it’s asking me to complete the billing transaction (using OTP).
So, I completed the payment by navigating to AWS billing dashboard > Order and invoices > Verify and pay
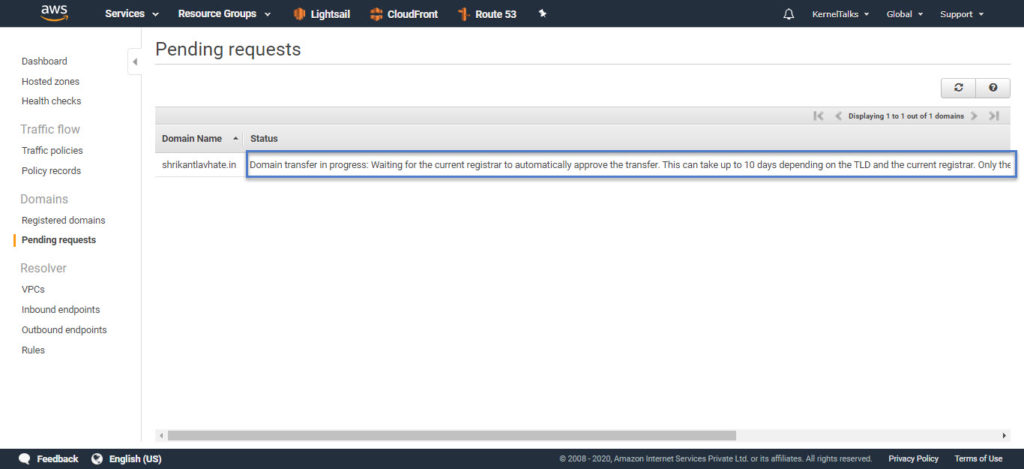
After completing the payment, head back to Route 53 management console and verify the status. Allow some time for changes to propagate in system and status to update. Status should change back to ‘Domain transfer in progress: Waiting for the current registrar to automatically approve the transfer. This can take up to 10 days depending on the TLD and the current registrar. Only the current registrar can accelerate the process. (step 7 of 14)‘.
Meanwhile, you will receive an automated email from your current domain registrar confirming if you initiated the domain transfer. And it also contains a link that you can use to cancel the domain transfer request. Since we did want to transfer a domain, no action required.
Now, you have to sit back and relax. Let the transfer period pass and then your domain transfer will be complete. Typically it takes 5-10 days to complete this transfer.
After 6 days I received an email from AWS that domain transfer is completed. I log in to Route 53 console and now I can see the domain is transferred to Route 53 completely.

Since we choose to keep current nameservers while transferring the domain to Route 53, AWS will not create any hosted zone for your domain.
If you choose to opt for Route 53 as a DNS Manager for domain, then after transfer AWS will create public hosted zone in Route 53 automatically once transfer is complete. This public hosted one will has entries of SOA and nameserver. Note that you will be billed for 0.5$ per month for this hosted zone.
That’s it. We successfully transferred our domain from Godaddy to AWS Route 53.