A quick post to configure oracle public repo in SUSE Manager


In this article, we will walk you through step by step procedure to add Oracle Linux client in SUSE Manager. The complete process is operated in the below steps :
- Add Oracle YUM repositories to SUSE Manger
- Manually sync Oracle Linux repo to SUSE Manager
- Copy GPG key from Oracle public repo to SUSE Manager
- Create Oracle Linux bootstrap repository in SUSE Manger
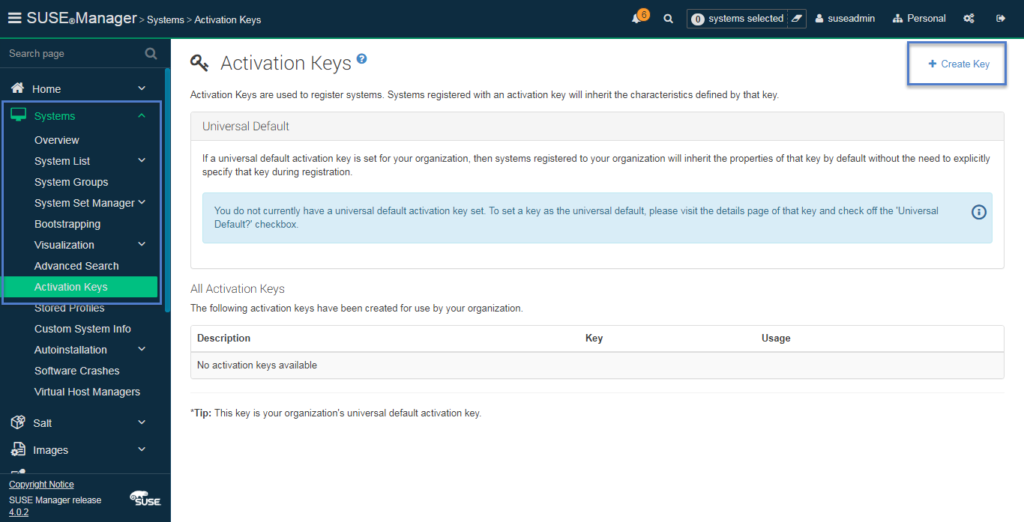
- Create activation key
- Generate and modify the bootstrap script for Oracle Linux
- Register Oracle Linux client to SUSE Manger
By adding Oracle Linux client in SUSE Manager you can manage OEL clients and their patching from your enterprise tool. You can do content lifecycle management as well with Oracle public channels. Without further delay lets jump into it.
How to add Oracle Public repositories in SUSE Manager
First thing first, install spacewalk utilities on your SUSE Manager server.
kerneltalks:~ # zypper in spacewalk-utils
Now, run spacewalk command to list all available base channels along with their available architectures.
 kerneltalks:~ # spacewalk-common-channels -l |grep oraclelinux
 oraclelinux6:        i386, x86_64
 oraclelinux6-addons: i386, x86_64
 oraclelinux6-mysql55: i386, x86_64
 oraclelinux6-mysql56: i386, x86_64
 oraclelinux6-mysql57: i386, x86_64
 oraclelinux6-openstack30: x86_64
.....output clipped.....
You need to choose the channel you want to sync per your requirement. For this tutorial, we will register the OEL7 client to SUSE Manager. For that, we will select two channels oraclelinux7 & oraclelinux7-spacewalk24-client
Always base version of OS and spacewalk client channels are mandatory. Rest related channels to your base OS are optional for you to choose. You need to sync these channels to SUSE Manager using below command –
kerneltalks:~ # spacewalk-common-channels -v -a x86_64 oraclelinux7
Connecting to http://localhost/rpc/api
SUSE Manager username: suseadmin
SUSE Manager password:
Base channel 'Oracle Linux 7 (x86_64)' - creating...

kerneltalks:~ # spacewalk-common-channels -v -a x86_64 oraclelinux7-spacewalk24-client
Connecting to http://localhost/rpc/api
SUSE Manager username: suseadmin
SUSE Manager password:
Base channel 'Oracle Linux 7 (x86_64)' - exists
* Child channel 'Spacewalk 2.4 Server for Oracle Linux 7 (x86_64)' - creating...
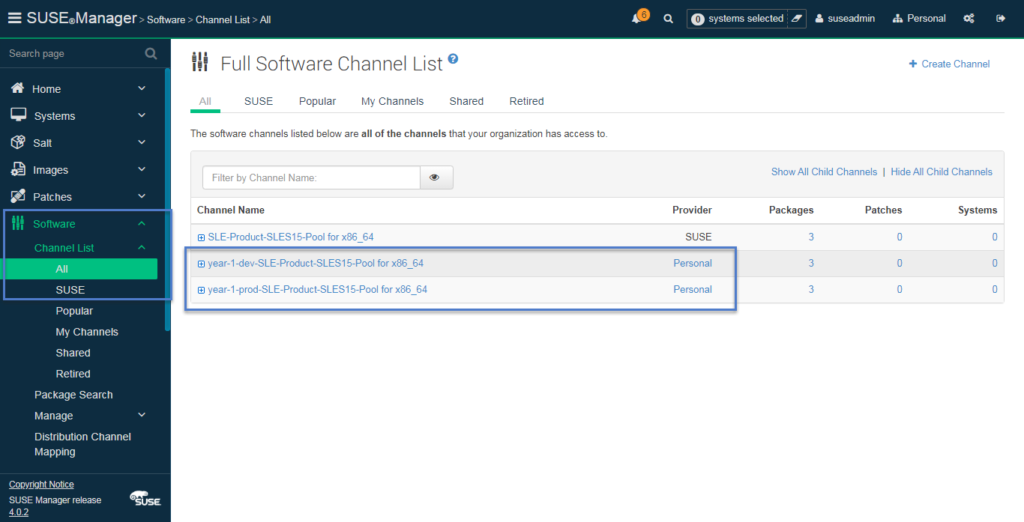
Now both channels are created and now you can even view them in the SUSE Manager web console.
Sync Oracle Linux Public repo to SUSE Manager
The next step is to sync these channels manually for the first time. Later you can schedule them to sync automatically. To sync Oracle public repo manually run below command –
kerneltalks:~ # spacewalk-repo-sync --channel=oraclelinux7-x86_64
kerneltalks:~ # spacewalk-repo-sync --channel=oraclelinux7-spacewalk24-client-x86_64
It takes time depending on your server internet bandwidth. If you are getting any python errors like AttributeError: 'ZypperRepo' object has no attribute 'repoXML' then make sure your SUSE Manager is up to date (zypper up) and then execute these steps.
You can navigate to SUSE Manager > Channel List, click on the channel name, Manage channel (right-hand top corner), goto last tab Repositories, and sync tab. Here, you can schedule automatic sync daily, weekly, etc as per your choice.
Copy GPG key
Copy key from RPM-GPG-KEY-oracle-ol7 to /srv/www/htdocs/pub/RPM-GPG-KEY-oracle-ol7 on the SUSE Manager server.
We will define this GPG key to use in the bootstrap script.
Create Oracle Linux bootstrap repo in SUSE Manager
Follow the below set of commands to create a bootstrap repo. Since we synced public repo channels (which are not Suse backed channels) command mgr-create-bootstrap-repo won’t work to create Oracle Linux bootstrap repo.
kerneltalks:~ # mkdir -p /srv/www/htdocs/pub/repositories/res/7/bootstrap
kerneltalks:~ # cd /srv/www/htdocs/pub/repositories/res/7/bootstrap
kerneltalks:~ # wget -r -nH --cut-dirs=5 --no-parent --reject="index.html*" http://yum.oracle.com/repo/OracleLinux/OL7/spacewalk24/client/x86_64
kerneltalks:~ # wget http://yum.oracle.com/repo/OracleLinux/OL7/spacewalk24/client//x86_64/getPackage/jabberpy-0.5-0.27.el7.noarch.rpm
kerneltalks:~ # createrepo .
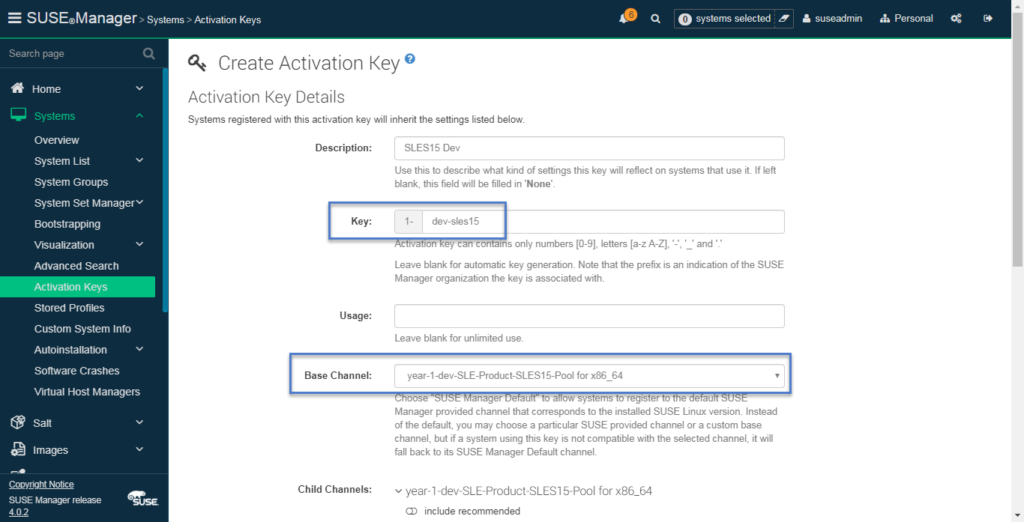
Create activation key
This step is pretty much the same as we normally do for any other channel. You can refer to this article with screenshots for the procedure.
We created the activation key 1-oel7 here for this demo. We will refer to this key throughout later this chapter.
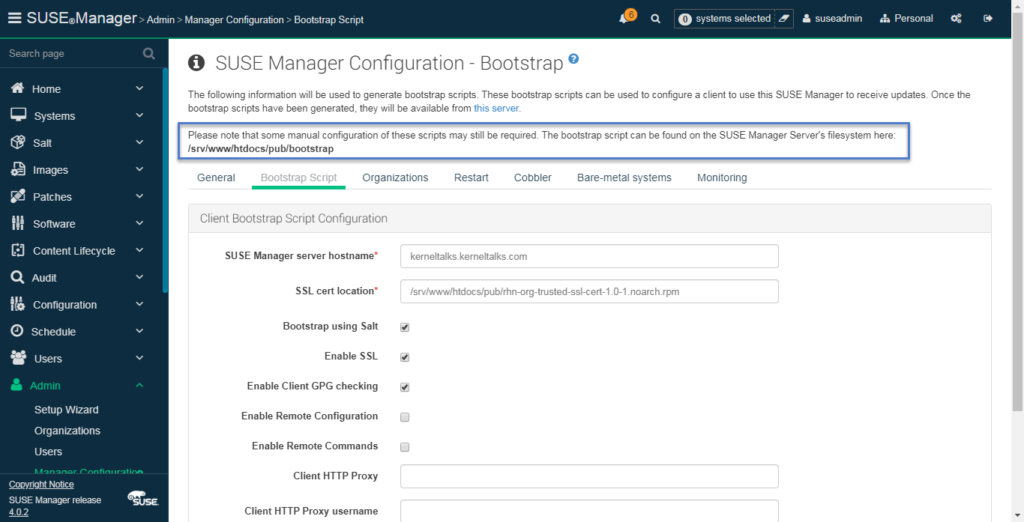
Generate and modify the bootstrap script for Oracle Linux
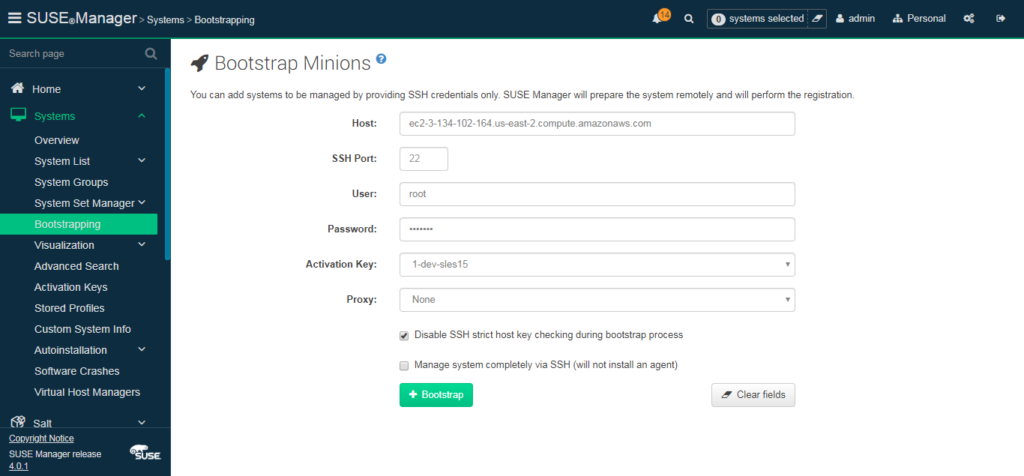
You need to follow the same step you did earlier for salt clients. Goto SUSE Manager > Admin > Manager Configuration > Bootstrap Script.
The only thing here you need to uncheck ‘Bootstrap using salt’ option. Since salt is not supported, we will register Oracle Linux as the traditional system. For that you need to generate bootstrap script without salt part.

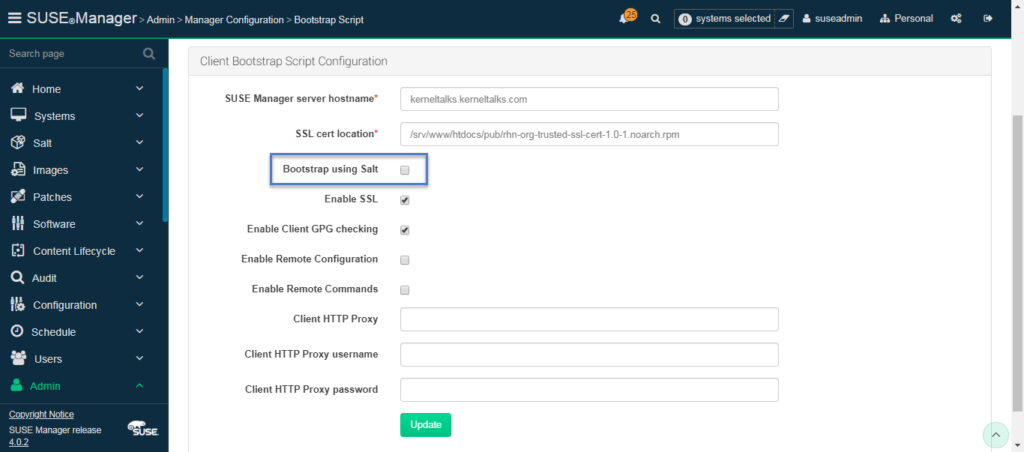
The script will be generated at /srv/www/htdocs/pub/bootstrap on SUSE Manager Server. Make a copy of it and edit it.
kerneltalks:~ # cp /srv/www/htdocs/pub/bootstrap/bootstrap.sh /srv/www/htdocs/pub/bootstrap/oel7_bootstrap.sh
Modify the script to edit the below parameters (Make sure you enter your activation key and related GPG key value). Also, don’t forget to enable the script by commenting out exit 1 at beginning of script.:
#exit 1
ACTIVATION_KEYS=1-oel7
ORG_GPG_KEY=RPM-GPG-KEY-oracle-ol7
Also, rename all occurrences of spacewalk-check & spacewalk-client-tools to rhn-check & rhn-client-tools. And delete spacewalk-client-setup in the same lines. These 3 packages are being referred by SUSE Manager by old name so we are updating them accordingly. Below 3 sed one-liner command to perform this task for you! Make sure you edit the last file name to match your bootstrap script name.
kerneltalks:~ # sed --in-place 's/spacewalk-check/rhn-check/' /srv/www/htdocs/pub/bootstrap/oel7_bootstrap.sh
kerneltalks:~ # sed --in-place 's/spacewalk-client-tools/rhn-client-tools/' /srv/www/htdocs/pub/bootstrap/oel7_bootstrap.sh
kerneltalks:~ # sed --in-place 's/spacewalk-client-setup//' /srv/www/htdocs/pub/bootstrap/oel7_bootstrap.sh
Register Oracle Linux client to SUSE Manager as traditional client
That’s all. You are all ready to register the client. Login to the client with root account and run bootstrap script.
root@o-client ~ # curl -Sks https://<suse manager server>/pub/bootstrap/oel7_bootstrap.sh | /bin/bash
If your script exits with below error which indicates CA trust updates are disabled on your server –
ERROR: Dynamic CA-Trust > Updates are disabled. Enable Dynamic CA-Trust Updates with '/usr/bin/update-ca-trust force-enable'
Run mentioned command in error i.e. /usr/bin/update-ca-trust force-enable and re-run the bootstrap script. You will be through next time.
Also, if you see certificate error about expiry for certificate /usr/share/rhn/ULN-CA-CERT like below –
The certificate /usr/share/rhn/ULN-CA-CERT is expired. Please ensure you have the correct certificate and your system time is correct.
then get the fresh copy of the certificate from Oracle.com and replace it with /srv/www/htdocs/pub/ULN-CA-CERT on SUSE Manager server. Re-run bootstrap script on client.
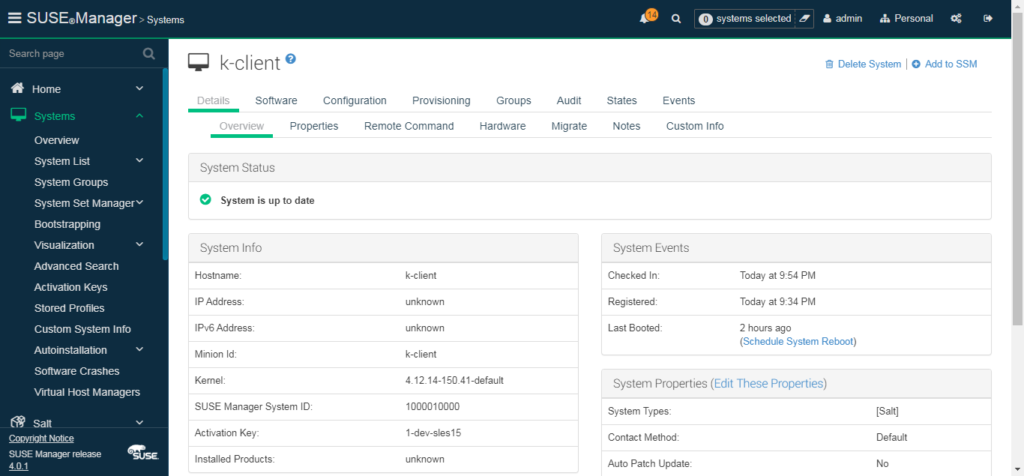
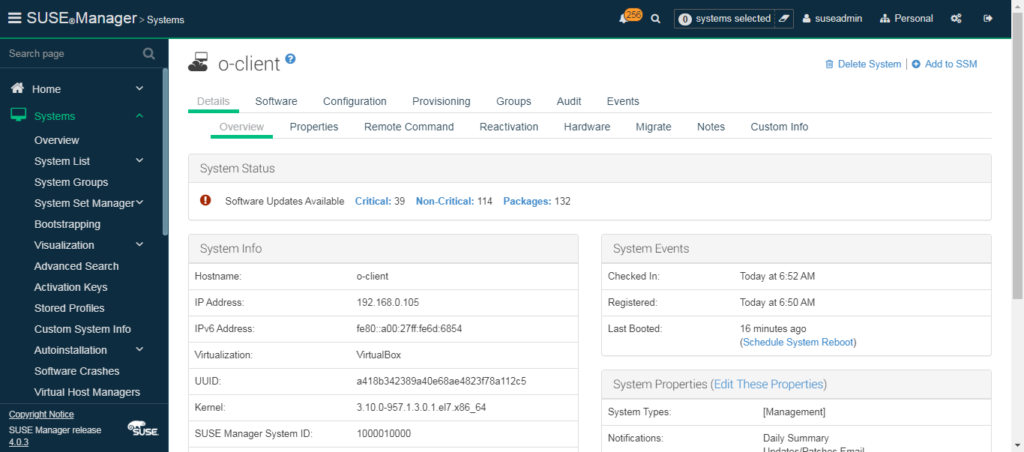
Once the bootstrap script completes you can see your system in SUSE Manager > Systems. Since its non-salt i.e. traditional system you don’t need to approve salt key in the web console. The system will directly appear in SUSE Manager.
Now you can check repositories on Oracle Linux client to confirm its subscribed to SUSE Manager.
root@o-client ~ # yum repolist
Loaded plugins: rhnplugin
This system is receiving updates from Spacewalk server.
repo id                                                                     repo name                                                                             status
oraclelinux7-x86_64                                                         Oracle Linux 7 (x86_64)                                                               12,317
oraclelinux7-x86_64-spacewalk24-client                                      Spacewalk 2.4 Client for Oracle Linux 7 (x86_64)                                          31
repolist: 12,348
That’s it! You have created, synced Oracle Linux Public repo in SUSE Manager and registered Oracle Linux Client in SUSE Manager!
How to configure CentOS repo in SUSE Manager
Bonus tip !!
All the above process applies fro CentOS repo as well. Everything remains the same except below points –
- Instead of
spacewalk-clientyou need to syncuyuni-clientrepo. - GPG keys you can get from CentOS page . Choose CentOs X
signing keyaccording to your synced repo. - Create bootstrap repo in the path
/srv/www/htdocs/pub/repositories/centos/6/bootstrap/