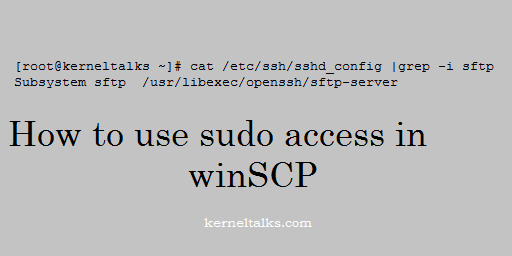
Learn how to use sudo access in winSCP with screenshots.

Before you move into configurations, make sure that the user is having NOPASSWD access to sudo to target user or root account. This means /etc/sudoers file must have entry something like below –
user1 ALL=(root) NOPASSWD: ALL
Once you have proper sudo configuration you can go ahead with WinSCP config. This is to ensure that once shell tries sudo it should be non-interactive.
First of all, you need to check where is your SFTP server binary located on the server you are trying to connect with WinSCP.
You can check SFTP server binary location with below command –
[root@kerneltalks ~]# cat /etc/ssh/sshd_config |grep -i sftp-server
Subsystem sftp  /usr/libexec/openssh/sftp-server
Here you can see sftp server binary is located at /usr/libexec/openssh/sftp-server
Now open winSCP and click Advanced button to open up advanced settings.
It will open up an advanced setting window like one below. Here select SFTP under Environment on the left-hand side panel. You will be presented with an option on the right hand side.
Now, add SFTP server value here with the command sudo su -c here as displayed in the screenshot below –
So we added sudo su -c /usr/libexec/openssh/sftp-server in settings here. Now click Ok and connect to the server as you normally do.
After connection, you will be able to transfer files from the directory where you normally need sudo permission to access.
That’s it! You logged to server using WinSCP and sudo access.