Learn how to disassociate elastic IP from EC2 and how to release elastic IP in AWS with screenshots. Also, understand how elastic IP is billed and the cost of billing.

In our previous article we understood how to allocate elastic IP to your AWS account & how to associate that elastic IP to EC2 instance. In this article we will walk through steps to disassociate elastic IP from EC2 instance and then release elastic IP from your AWS account.
Before we run into steps lets look at elastic IP billing information which will help you to judge why it is important to release un-used elastic IP back to AWS.
Elastic IP billing
At the most you can allocate 5 elastic IP for an AWS account per region. If you have a requirement of more, you need to reach out to the AWS team to raise this limit through form. This limit is set by Amazon since IPv4 is a scarce resource.
Coming to the billing part, you will be billed for each elastic IP which is not being used anywhere but allocated to your AWS account. This is to impose efficient use of such scarce resources. You will not be billed for elastic IP if below conditions are met –
- Elastic IP allocated to you is associated with EC2 instance
- That EC2 instance has only one elastic IP associated
- That EC2 instance is in running state.
You might like :
Elastic IP is allocated to you once you demand it. There is no default elastic IP allocated to your AWS account. Hence elastic IP billed under on-demand pricing model. Here are points to consider :
- Elastic IP billed under an on-demand pricing model
- It’s billed per hour on a pro-rata basis.
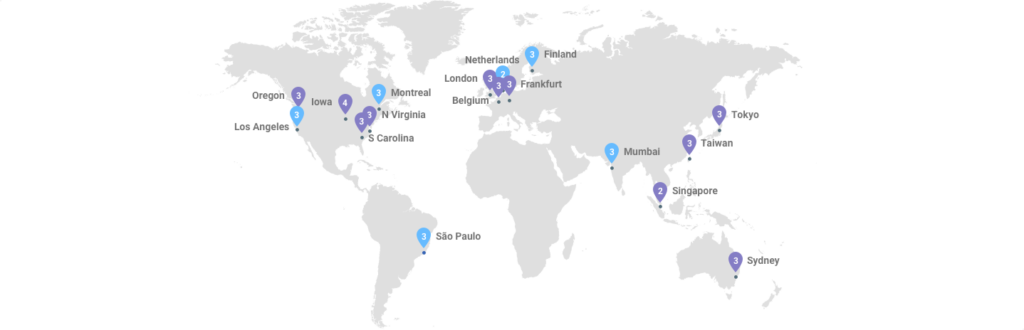
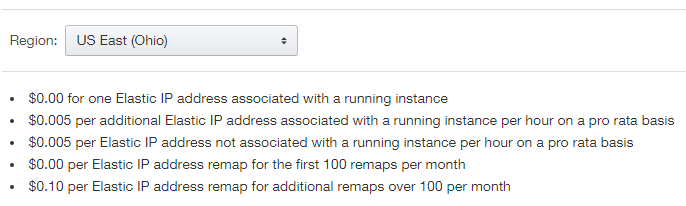
- Billing rate changes as per region. Detailed rates are available on the pricing page under the ‘Elastic IP Addresses‘ section.
For example, see below rates of elastic IP for US East (Ohio) region depending on your type of use –

Now, you know how your usage gonna get billed for elastic IPs in AWS. Without further deviation, let’s walk through process to release elastic IP from the AWS account.
How to remove elastic IP from EC2 instance
In AWS terms, its process to disassociate elastic IP from EC2 instance. The process is pretty simple. Login to EC2 console and navigate to Elastic IPs. You will be listed with all available Elastic IPs in your account. Choose one to disassociate and choose disassociate from the action menu. You will be shown a pop up like one below :

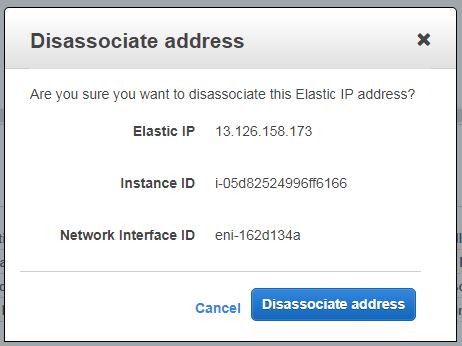
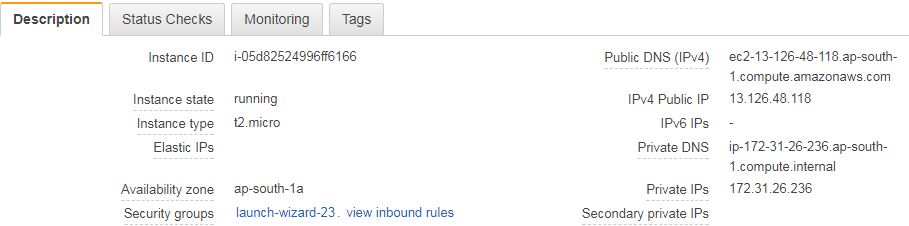
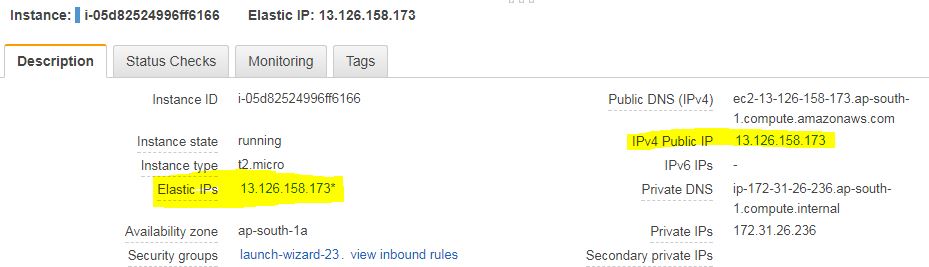
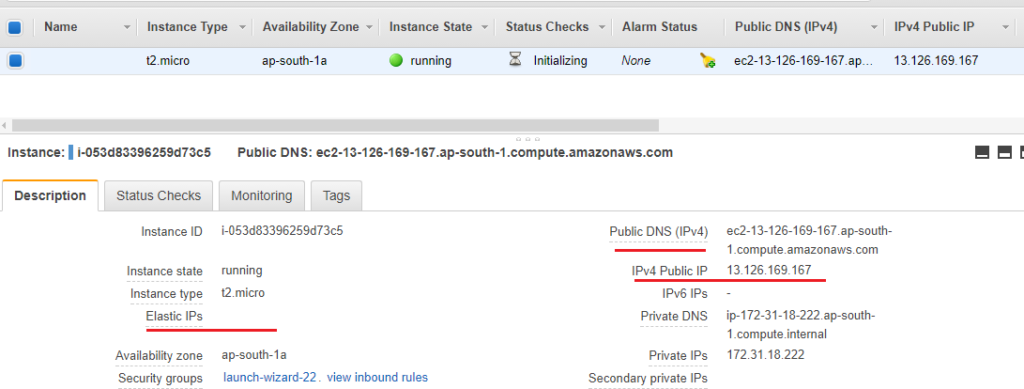
Confirm disassociation by clicking the disassociate address button. Your elastic IP will be removed from an EC2 instance and the instance will be assigned with public IP from AWS automatically. You can confirm empty elastic IP from EC2 instance details.
Now you have successfully disassociated elastic IP from EC2 instance. But it is still allocated to your AWS account and you are getting billed since you are not using it anywhere. You need to release it back to the AWS pool if you are not planned to use it for any other purpose so that you won’t be billed for it.
How to release elastic IP from AWS account
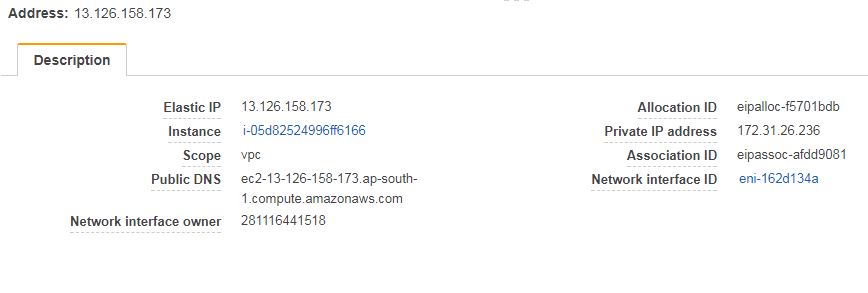
Releasing elastic IP means freeing it from your account and making it available back in the AWS pool for someone else to use it. To release login to EC2 console and navigate to Elastic IPs page. From the presented list select elastic IP you want to release and choose release address from the actions menu. You will be prompted with pop up like below :

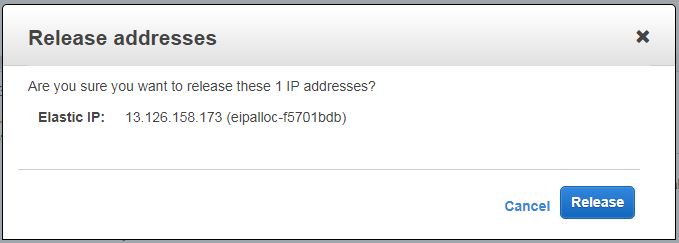
Confirm your action by hitting the release button. Your elastic IP will be released back to the AWS pool and you won’t be able to see it in your account anymore!