Learn how to install the EC2 Linux server of your favorite distro on the Amazon Web Services cloud platform. Free Linux server for learning and practicing.
Amazon Web Services AWS is one of the cloud platforms which offers various computing facilities online. For a free tier account, there are enough services offered for a normal user who aims for testing or learning new technologies without spending much. You can sign up for a free account (12 months free) here which will require your valid mobile number and credit card information for validation.
In this post, we will be using AWS to install the Linux server which we can use for practice/ hand-on experience at home. One of the other alternatives is to install Vmware on your desktop/laptop and then install Linux in its virtual machine. But this way requires a good hardware configuration of your laptop/desktop. Hosting your Linux on cloud is much easy and it’s not costing you anything for low usage!
AWS offers below a list of distros to install on its EC2 (server computing module) platform.
- Redhat
- Cent OS
- Debian
- Fedora
- Gentoo
- OpenSuse
- Suse Linux
- Ubuntu
- Amazon Linux
You can have a hand on to all these distros within minutes after signing up for your account! Of course, you will be having root administrator access on these systems! Let’s walk through steps to get your Linux server ready in minutes on AWS.
Step 1.
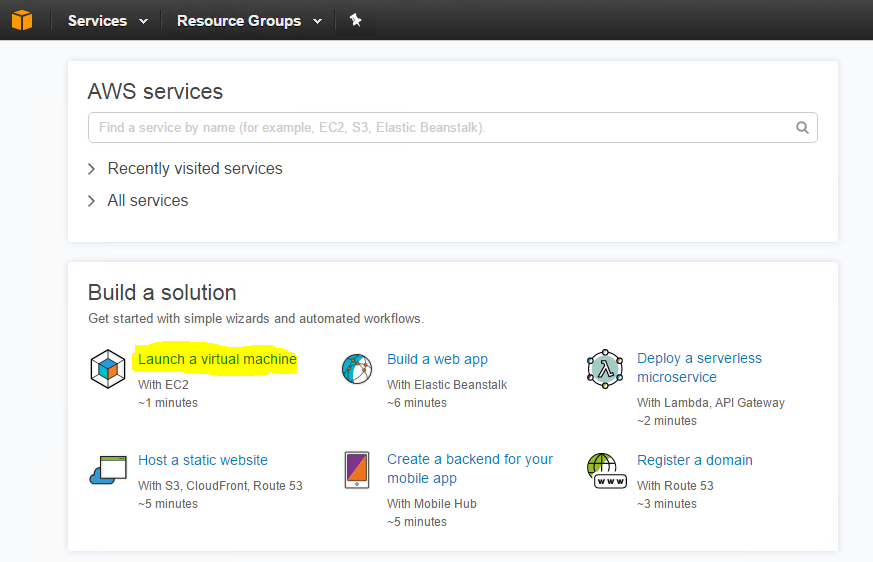
Login to AWS account and from landing page select “Launch a virtual machine” under ‘Build a solution’ screen.
Step 2.
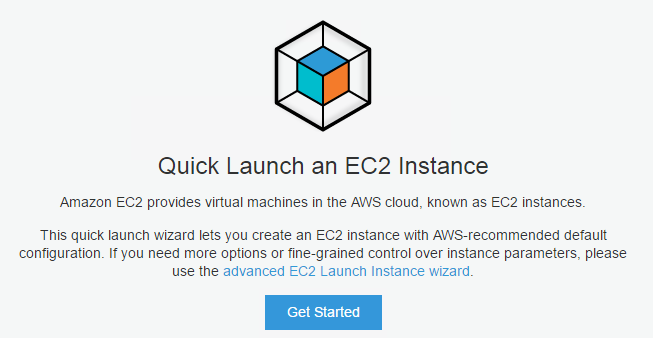
You will be presented with the ‘Quick Launch EC2 Instance’ screen. Here you will be able to launch a wizard to get your task done fast or you can go through Advanced selections to decide your final virtual server config. We will be going with a normal wizard. Click the “Get Started” button here.
Step 3.
Now we will walk through wizard for creating our Linux virtual server.
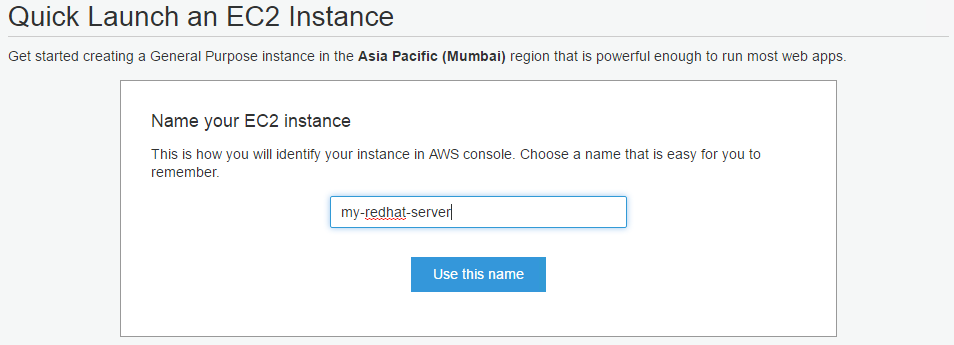
Name your EC2 instance :
Your EC2 linux virtual server name of your choice.
Select your operating system. We are selecting RedHat here.

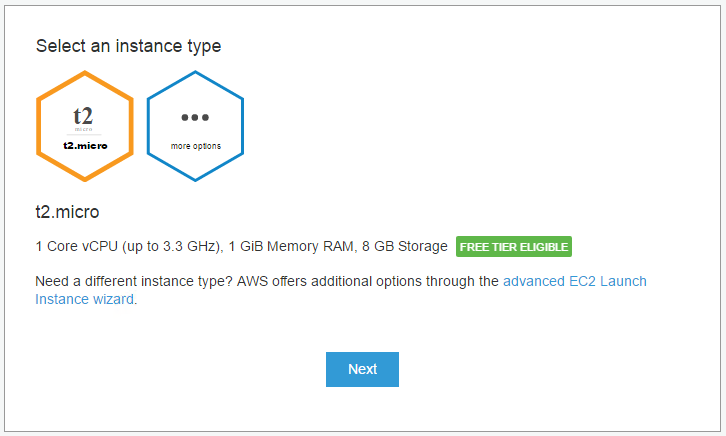
Select an instance type.
This is the type of hardware config you will be needing. For free account, you will be able to select those instances only which is tagged with “Free tier eligible”. Here we are selecting default t2.micro instance which has Single core CPU, 1 GB RAM, and 8GB of HDD.
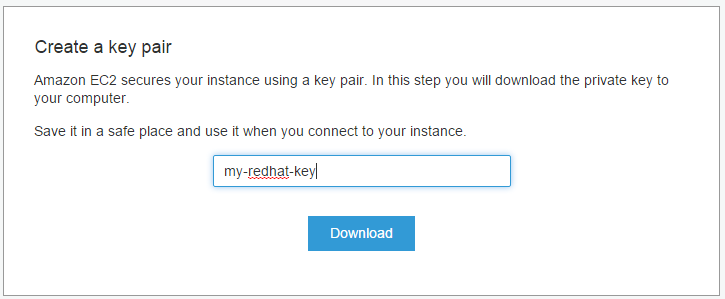
Create a key pair.
This is an important screen. Here you will be given one Private key to download. You will require this key to authenticate yourself while logging into this EC2 Linux server when ready. Give the name of your choice and download the key file and keep it safe.
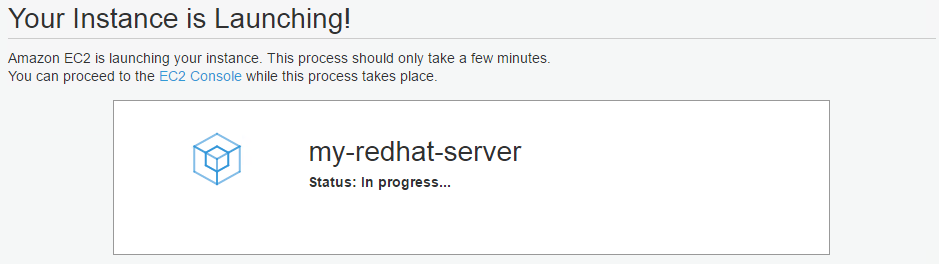
Create this instance.
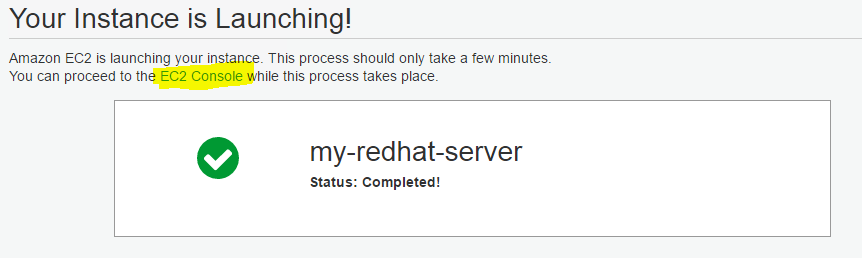
Finally hit create button and your server will be ready in 2 minutes. You will see installing screen.
Once complete, click EC2 console link and you will be presented with list of servers under your account.
Step 4.
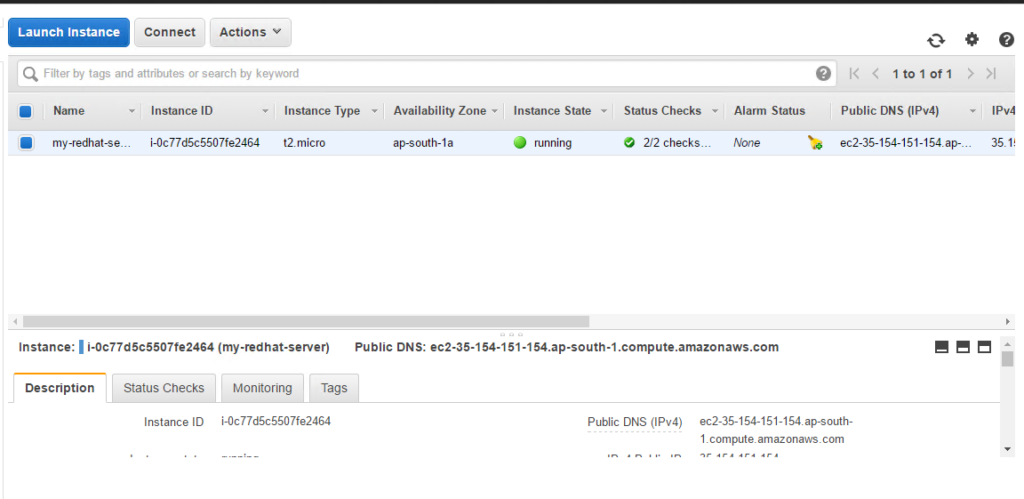
You can see below the EC2 screen with your server details like instance state, zone, DNS, etc.
Now to connect to this server from your laptop/desktop, you need to use key pair as authentication. Download putty.exe and puttygen.exe from here.
Open puttygen.exe and load your private key which you have downloaded from AWS console in step 2.
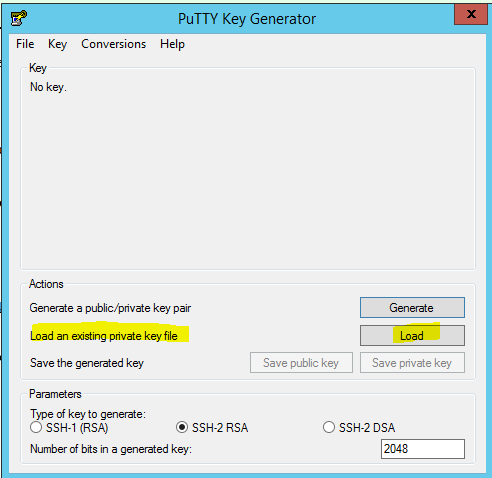
Once, successfully loaded you need to click the “Save public key” button and save the key on your desktop/laptop.
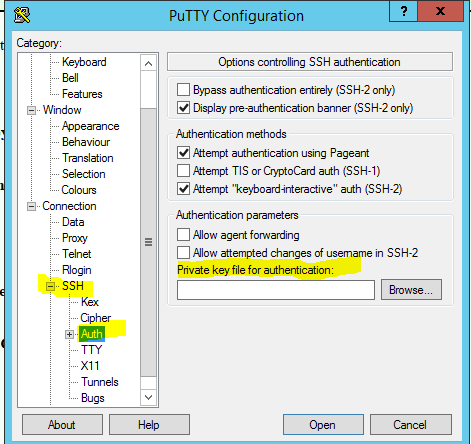
Now open putty.exe. Set your saved key file from puttygen (in the above task) as an SSH authentication. In left-hand side pane, expand SSH then select Auth and on the right-hand side, you will be able to browse your file.
Now your putty.exe is ready to connect with your AWS Linux server. Now head back to EC2 console and copy your server’s public DNS.
Use this it, in putty to connect. And you will be able to connect to the server. Once prompted for username use username from the below table as per your distro (official AMI). You won’t be prompted for a password. Your authentication will be done via key pair you configured in putty settings.
Default ssh usernames for famous Linux in EC2
| | |
| Ubuntu | ubuntu |
| Debian | admin |
| Fedora | fedora |
| CentOS | centos |
| RHEL 6.4 & Later | ec2-user |
| RHEL 6.3 & previous | root |
| SUSE | root |
login as: ec2-user
Authenticating with public key "imported-openssh-key"
[ec2-user@ip-172-31-23-115 ~] $ sudo su -
[root@ip-172-31-23-115 ~] # id
uid=0(root) gid=0(root) groups=0(root) context=unconfined_u:unconfined_r:unconfined_t:s0-s0:c0.c1023
Once logged in, use sudo su - command and you will be in root account! That’s it, you have an EC2 Linux server with root account in few minutes!
You can install any distro listed above in these instances. Make sure you are not expiring your free usage according to AWS free tier policy otherwise you will be billed on your card. Practice, learn, improve! Have a happy shell!!
Share Your Comments & Feedback: