A quick article for AWS beginners on connecting the AWS RDS database from Windows.
A step by step RDS database login procedure using the lightweight SQL client. This article is intended for AWS beginners who wanted to learn about RDS service with a little bit of database hands-on. Being said that, there is always a question for the non-DB guys; “How did I connect with this RDS database?”. So here we will walk you through step by step procedure for doing that.
For connecting to RDS database you should have –
- RDS database up and running
- RDS database endpoint
- A SQL client
- Connectivity between your machine and RDS database
Throughout this article, I am considering the MySQL database on RDS. If you are using a different database engine on RDS, then the connection port may vary. Also, we are considering ‘Password authentication’ of authentications options here –
- Password authentication: RDS configured with this option has users managed at the database level.
- AWS IAM database authentication: RDS configured with this option authenticates users by leveraging AWS IAM service. As a result, users are managed outside the database.
Let’s get started!
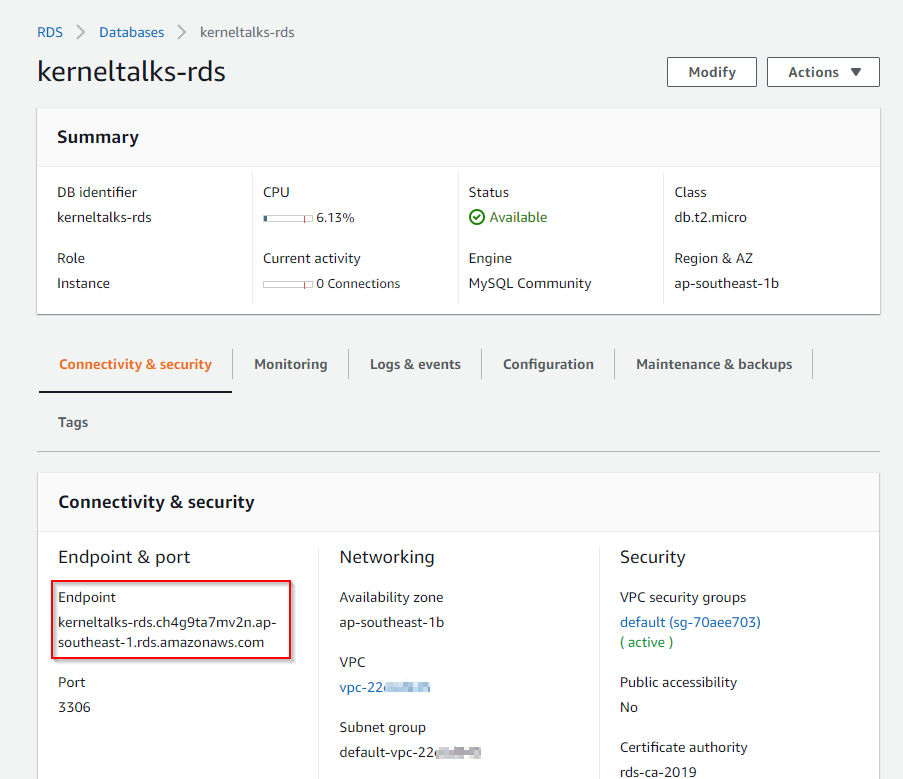
Identify RDS Endpoint
- Navigate to the RDS console
- Go to Databases and select your database
- Database details screen should open up where you can copy your RDS endpoint.
Prepare SQL client
- Download lightweight SQL client Sqlectron
- Install and open the Sqlectron client.
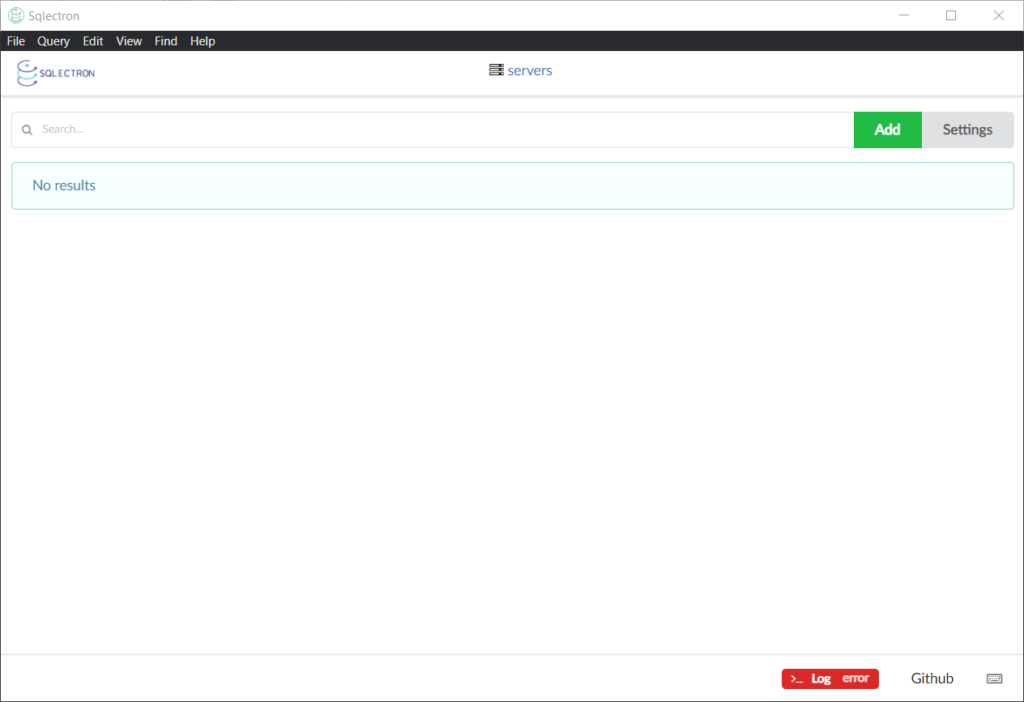
Click on Add button to enter RDS connection details. We are testing RDS with ‘Password authentication’ here hence user and password needs to be supplied.
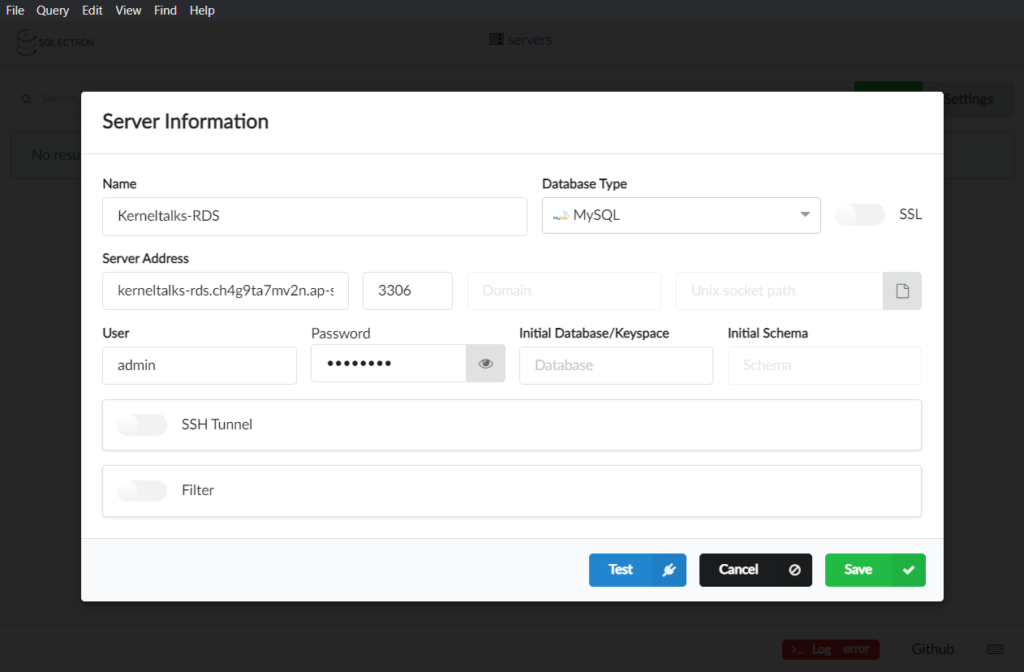
Click on Test to verify the connectivity.
If you encounter the below error, try to connect from a machine with direct connectivity to RDS. You can analyse RDS security groups to determine allowed subnets.

Verify below things –
- There are no firewall rules between your machine and RDS blocking the port 3306 traffic.
- RDS database is publicly accessible. (Obv. It applies to testing POC databases). If not, you can configure RDS to be publicly accessible.
- If you don’t want your RDS to be publicly accessible, you need to connect RDS from the allowed subnets. That means your machine needs to be in the same VPC as RDS (e.g. Windows EC2 in the same VPC)
How to make RDS publicly accessible
Not recommended for production RDS instances or RDS carrying sensitive data.
- Navigate to RDS console and respective database
- Select Modify from the action menu for that particular database
- Goto Connectivity section and expand Additional configuration
- Here choose the radio button against Publicly accessible and Apply the changes
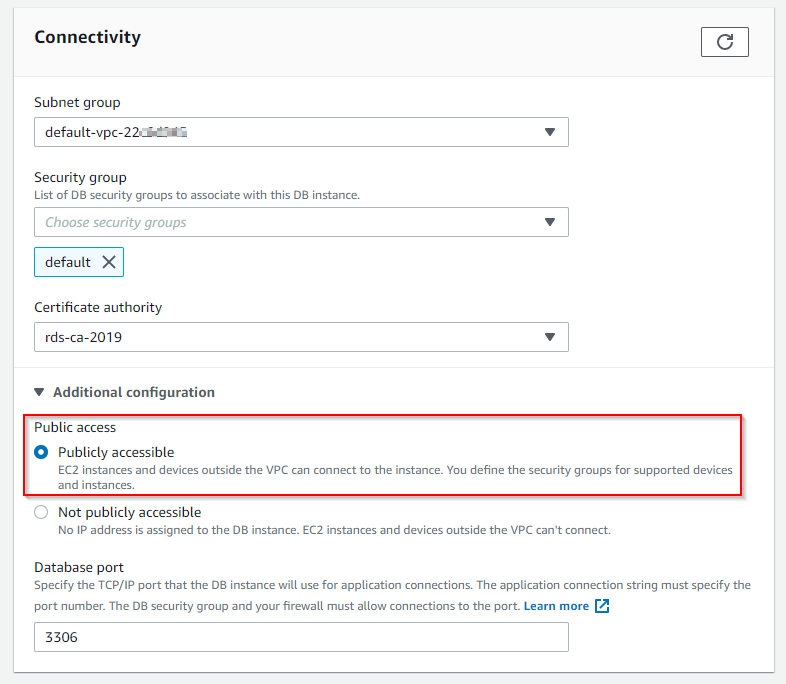
RDS connection using ‘Password authentication’ via SQL client
Once you sort out RDS connectivity issues, go back to the SQL client and try Test again. Now you should be able to succeed.

Now, click on Save to save this configuration in SQL client. And then hit Connect to connect to your RDS database.
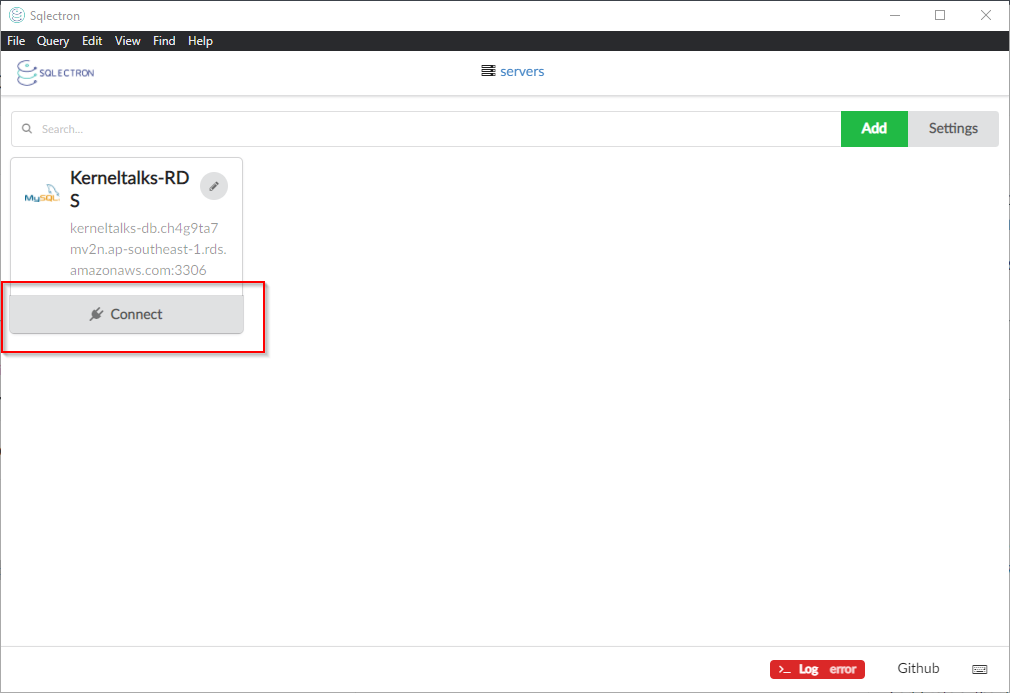
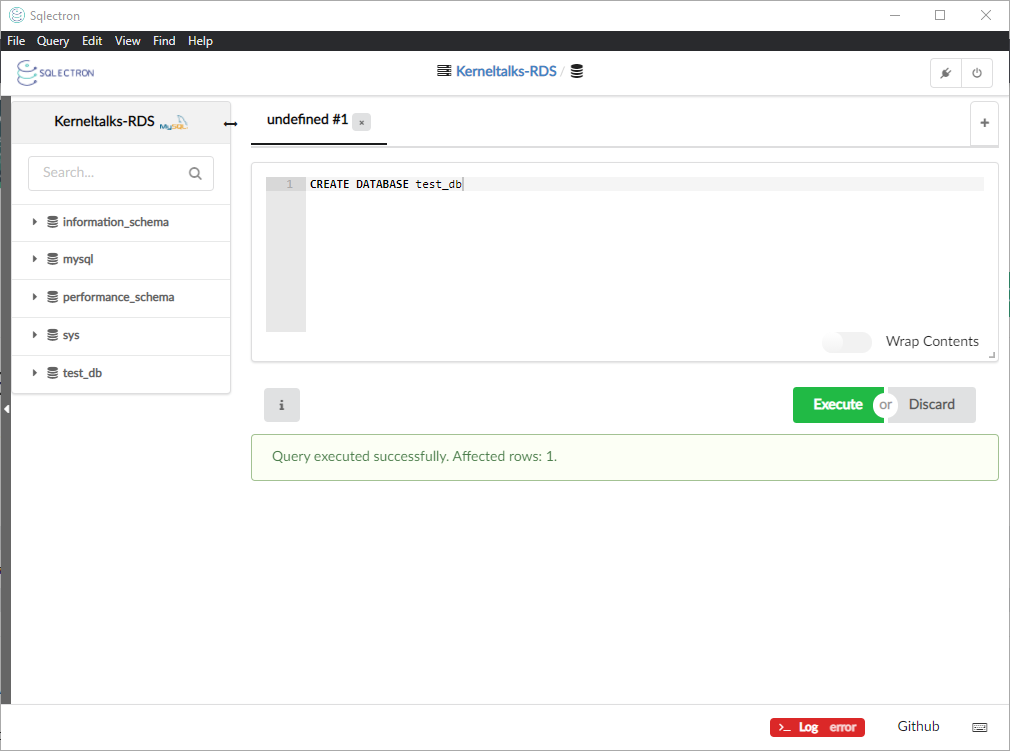
After connecting, you can see schema on the left-hand side and a command box on the right-hand side to execute commands on the database.
Command outputs or messages will be shown in the blank space below the command text area. You will be able to download outputs in JSON, CSV format or even copy them directly.
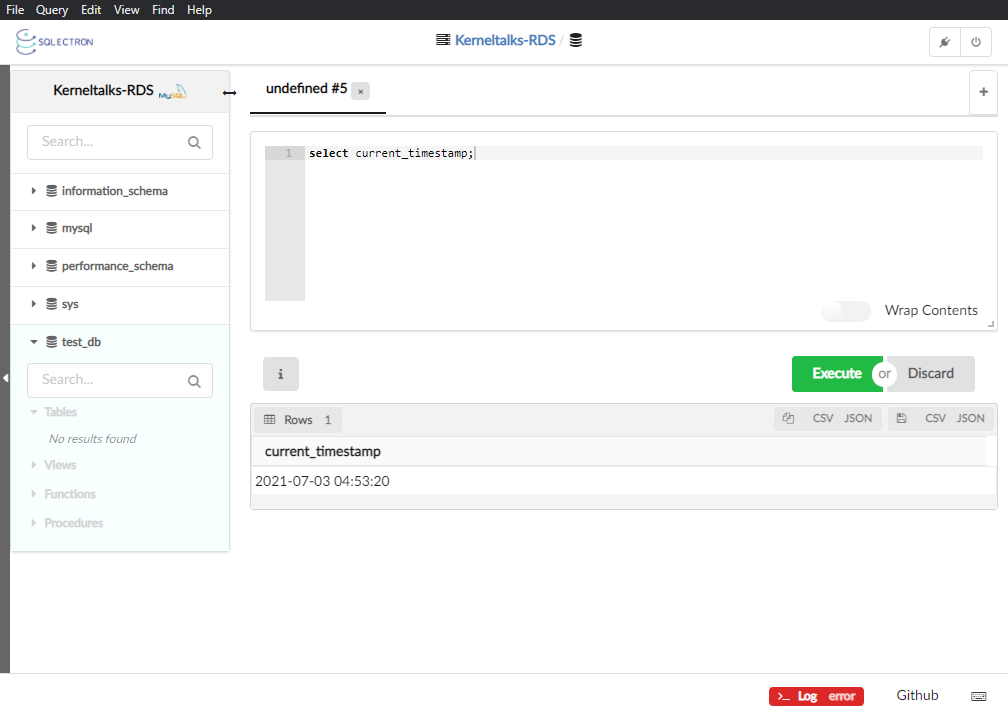
That’s all! You can use this light weight SQL client to get started with RDS immediately.
Share Your Comments & Feedback: