Complete step by step guide of RHEL 8 BETA installation with screenshots.

In this article, we will walk you through step by step installation of Red Hat Enterprise Linux 8.0 BETA along with screenshots. Before you begin to read what’s new in RHEL 8 and how to download RHEL 8 ISO. For this article, we installed RHEL 8 BETA on Oracle VM VirtualBox but the process almost remains the same whether you install on VM or physical machine. So, let’s learn how to install RHEL 8 BETA with screenshots.
Boot server with bootable ISO and you will be presented with below boot menu. Test media and install will be by default selected and you get the 60-sec timer to cancel it out. Since ISO is almost 6.5 GB it takes a while to test media so you can cancel this out, move up and choose to install without checking media.
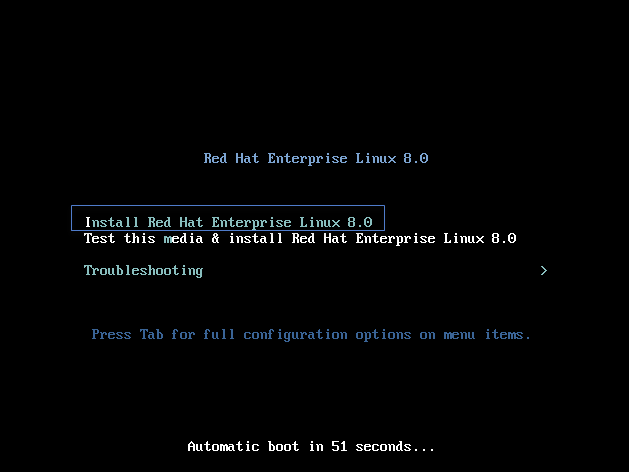
Select Install Red Hat Enterprise Linux 8.0 and press enter
RHEL 8 BETA installer will load into memory and you will be presented with a language selection screen.
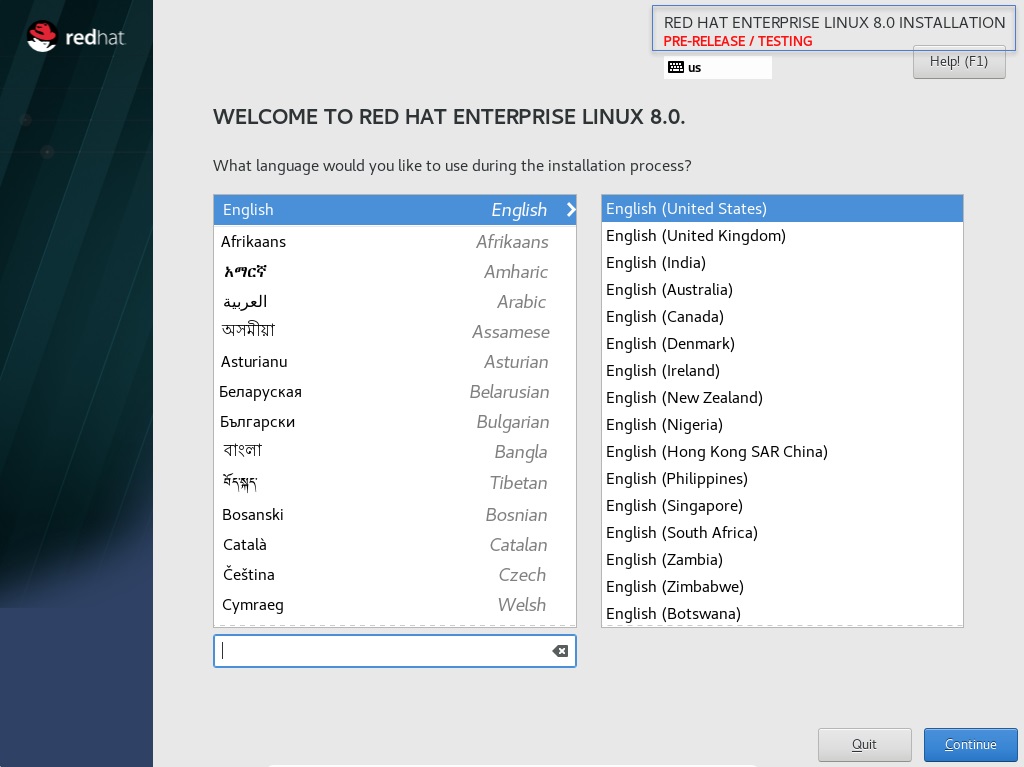
Note here that Red Hat highlighted its PRE-RELEASE/TESTING so you understand it’s not to run in your live environment.
Select language of your choice and click Continue
Now, before moving forward installer will again remind you that this is pre-release software with below notice screen.
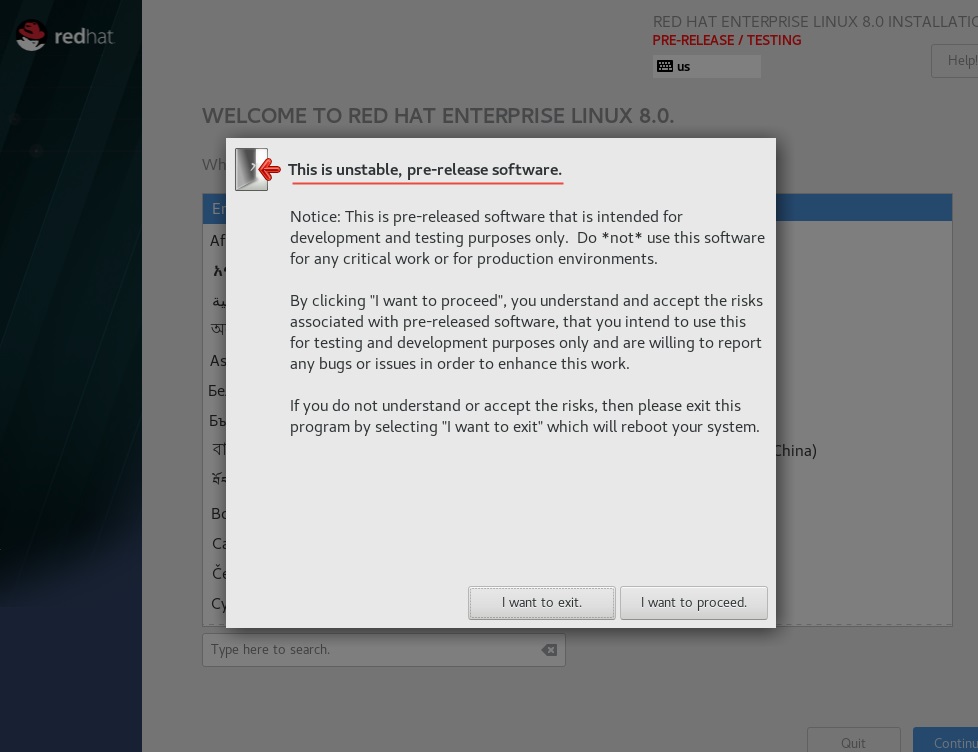
Click I want to proceed
Now you will see installation summary screen. Here all the custom configurations to be made. Everything is segregated in three categories :
- Localization
- Keyboard
- Language Support
- Time & Date
- Software
- Installation Source
- Software Selection
- System
- Installation Destination
- Kdump
- Network & Host Name
- Security Policy
- System Purpose
You can click on each category and customize it according to your choice. We will walk you through each of them with screenshots except Keyboard and Language Support.
Lets start with Time & Date. Click on it and you will see below screen –
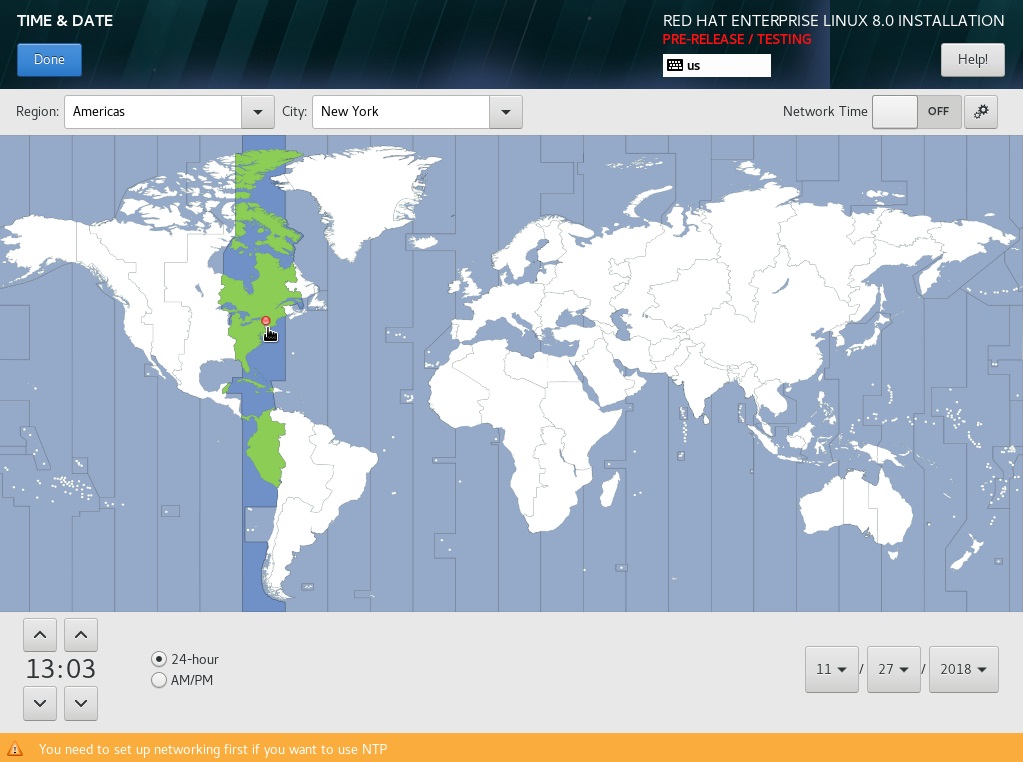
Select timezone, date, time of your choice. You can even setup NTP here. Slide button on upper-right corner next to Network Time to configure NTP.
Click Done at top left corner once done.
You will come back to the installation summary screen. Click on Installation Source. It will bring up below screen –
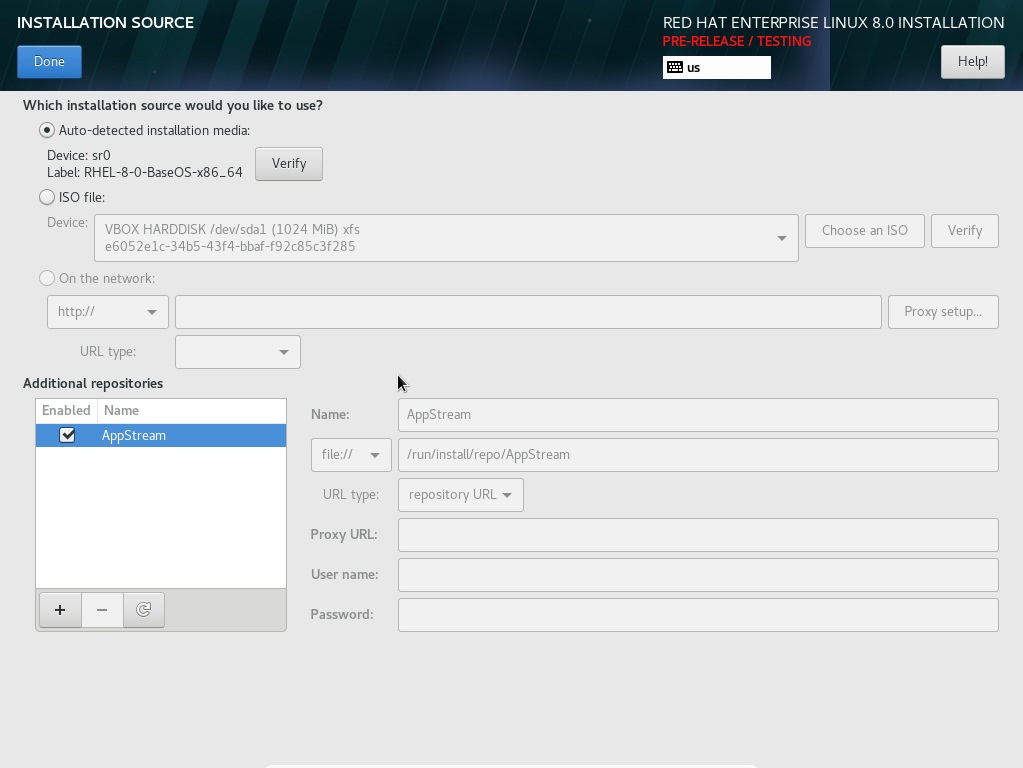
By default, the install source is selected from where you boot up this system. You can notice additional AppStream repo here which is one of the features of RHEL 8 BETA. Click Done. You will be back on the installation summary screen.
Click Software Selection. You will see below screen –

Here you select base and add-ons depending on your server role. Since we are installing it for testing, we choose minimal install. Click Done. You will be back on the installation summary screen.
Click Installation Destination and you get access to partition your root disk. By default, Automatic partitioning is selected.
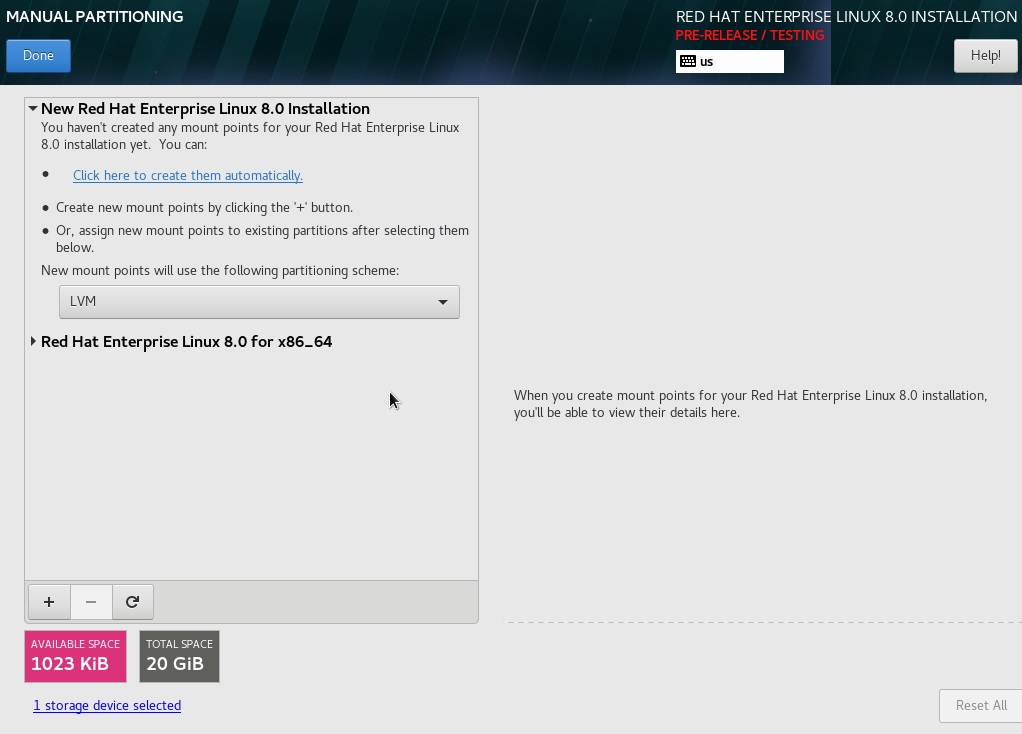
Here you can select different custom partitioning along with different volume managers. We re sticking with automatic partitioning here. Click Done. You will be back on the installation summary screen.
Click KDUMP and you will be able to do kdump configuration.
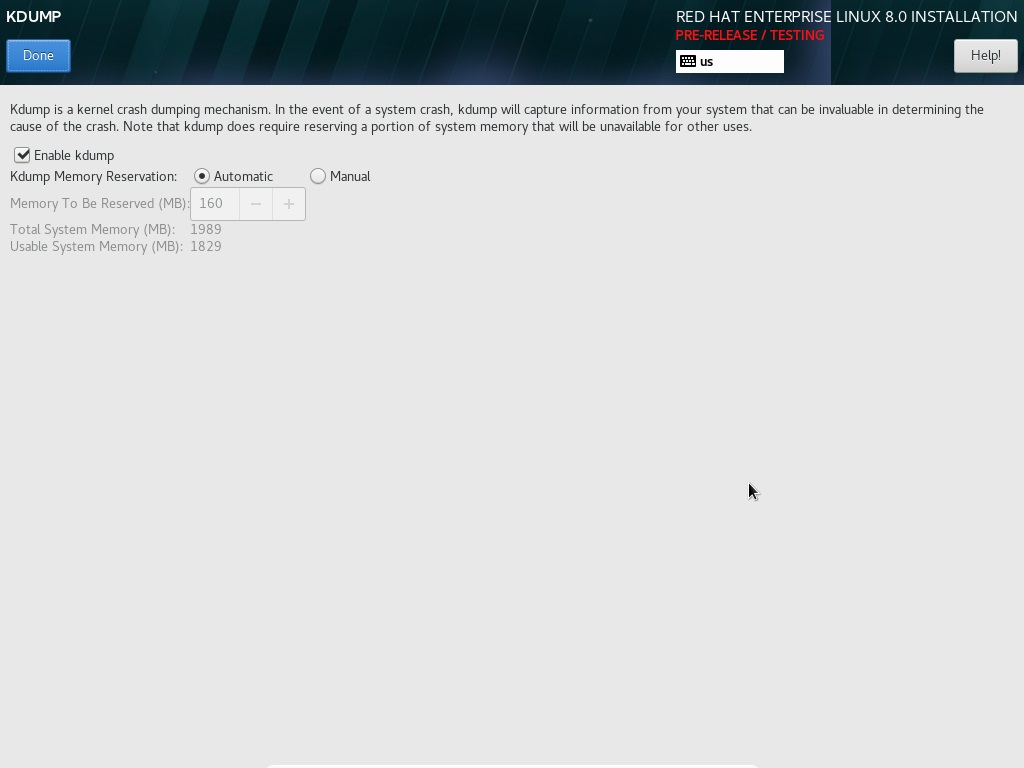
You can enable/disable kdump here. Also if enabled you can specify reserve memory for it or leave to automatic. Click Done. You will be back on installation summary screen.
Click Network & Host Name. Here hostname and networking details can be configured. You will be presented with below screen –
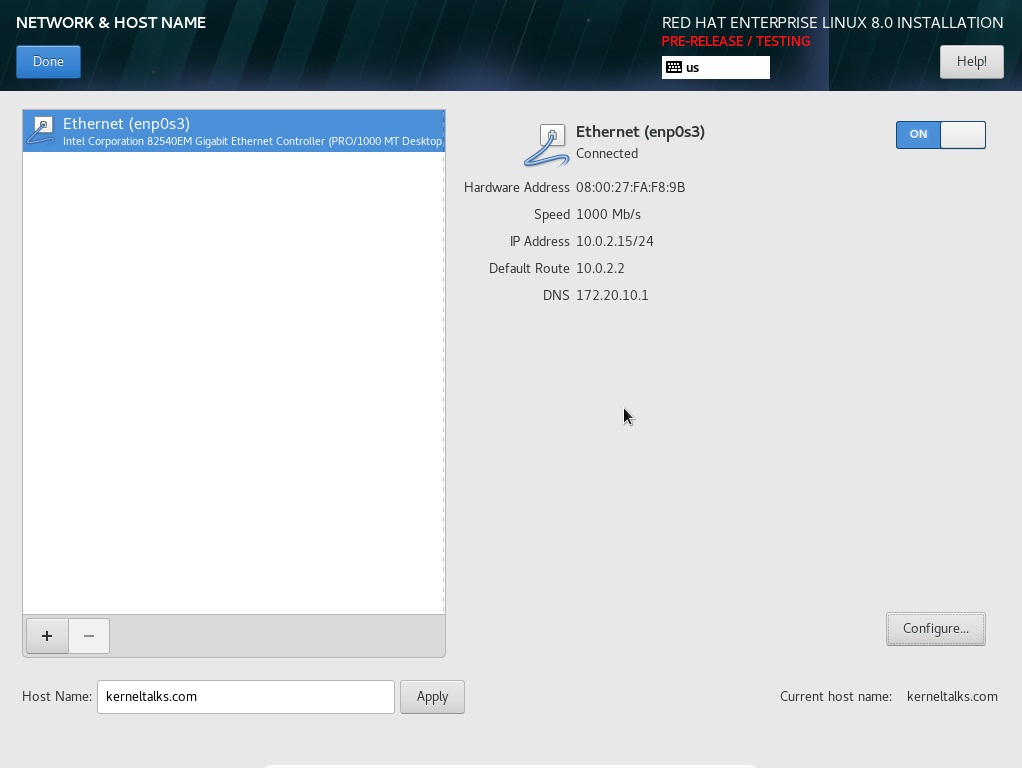
Define hostname in the lower left bottom space. To configure networking details click Configure and it will pop up below network configuration window.
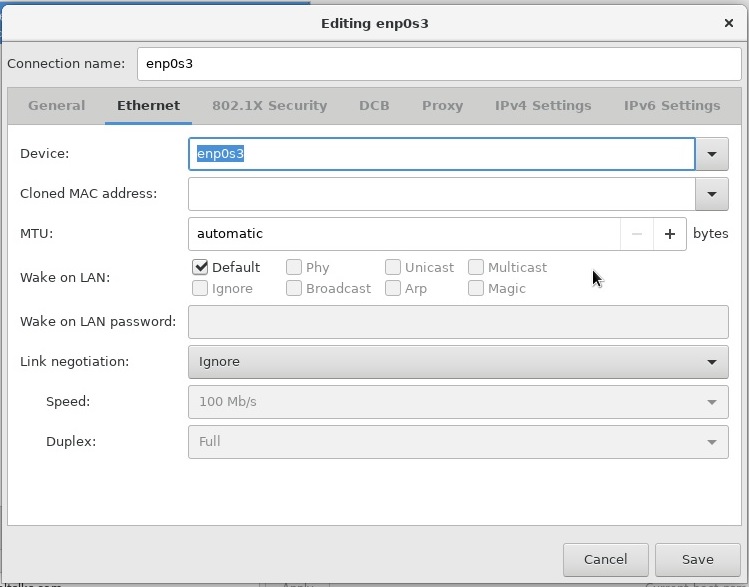
Configure details. Click Save. Come back to the previous window. Click Done. You will be back on the installation summary screen.
Click Security Policy and below screen will allow you to define security policies of your choice. You can even specify URL to fetch policies
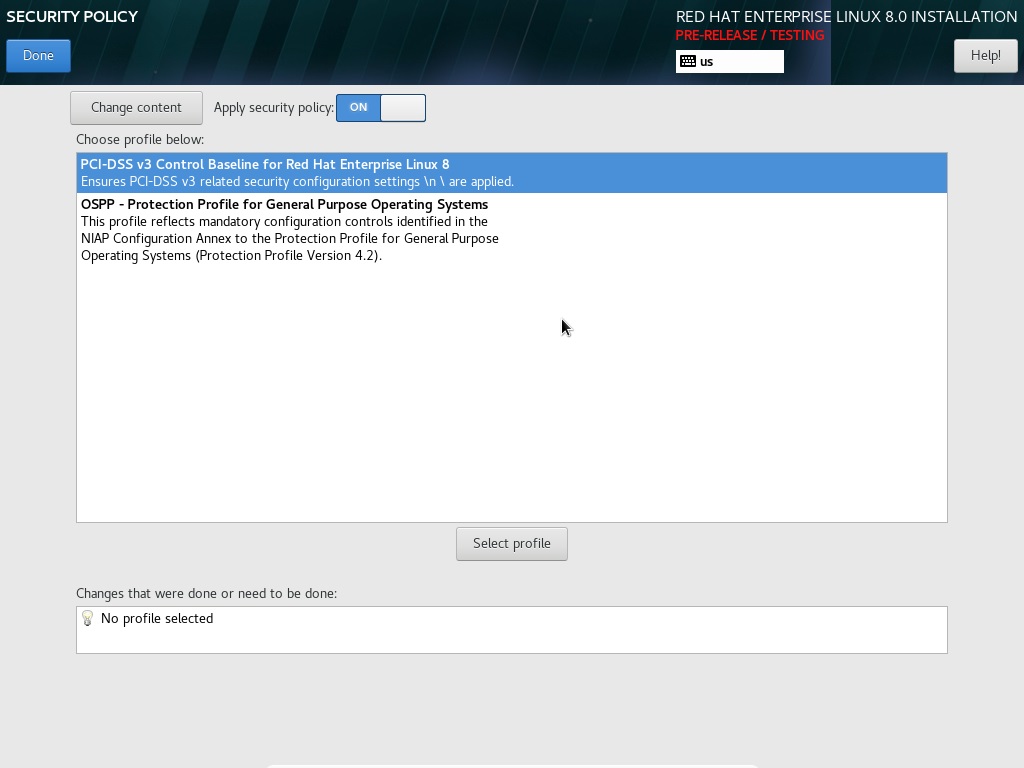
Once done click Done. You will be back on installation summary screen.
Click System Purpose to define the role of server. Below window let you define your server role –
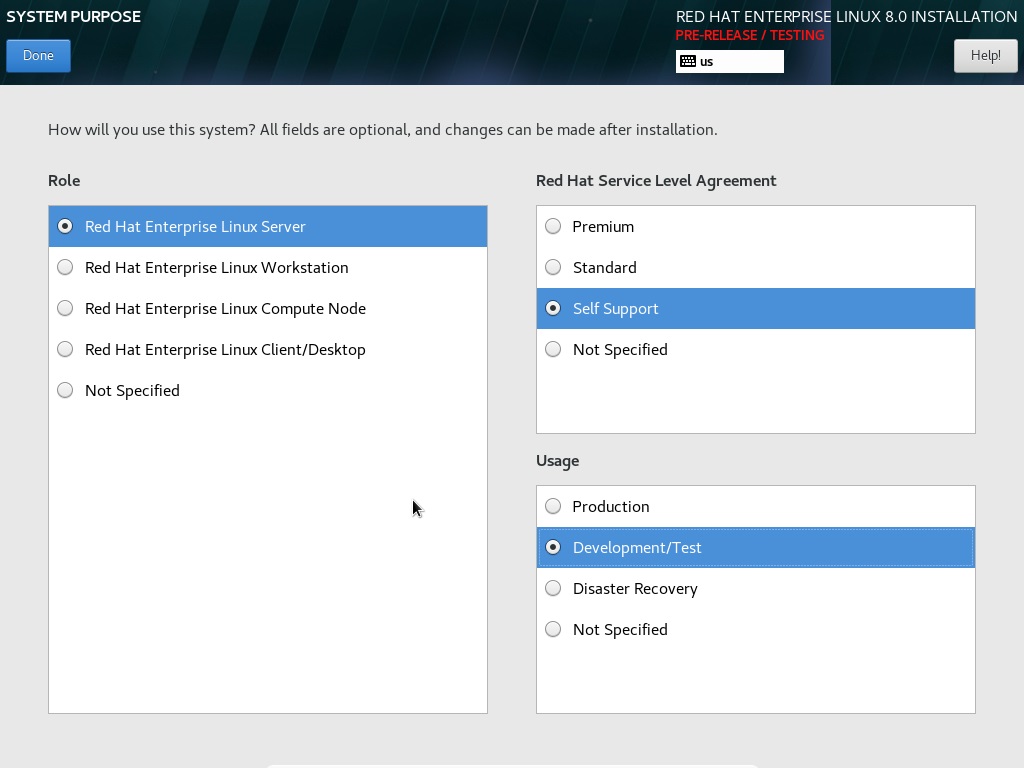
Select appropriately. We selected it as an RHEL, self-supported test server. Click Done. You will be back on the installation summary screen.
Now all customization according to your requirement has been done. You are now ready to start OS installation. Hit Begin installation button. The installer will start partitioning your disks and prepare them for installation. Meanwhile, it shows you below the screen to set the root password and add users to the system.
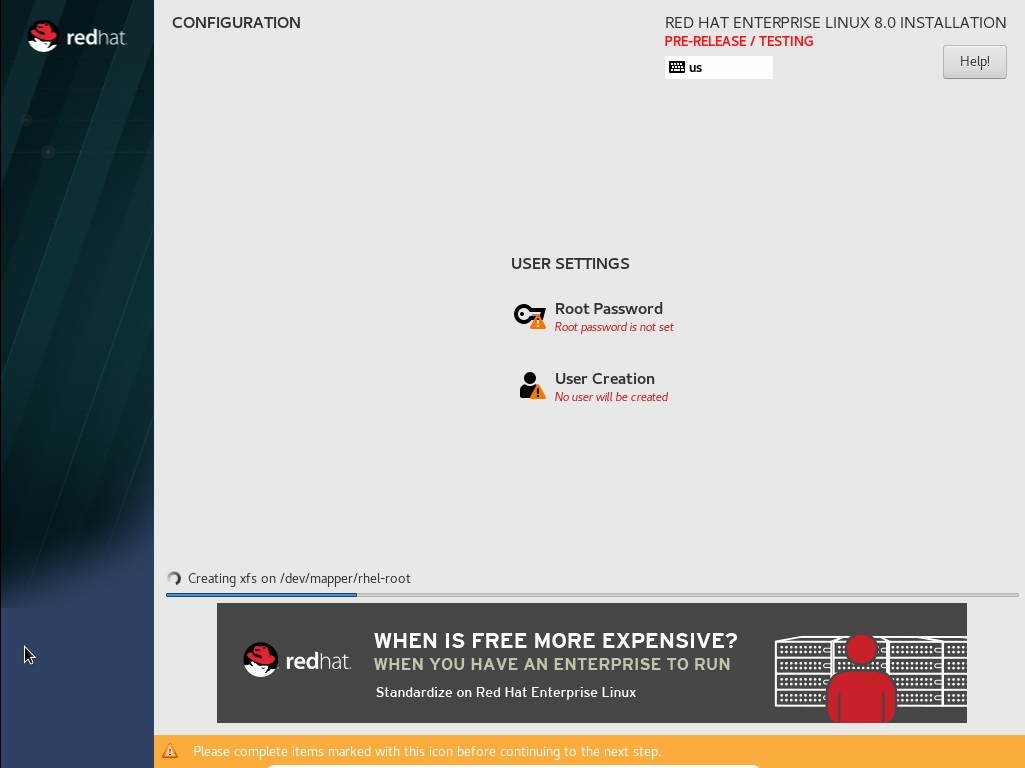
Set root password, sit back, and relax while installer complete setup! Once setup finishes, it will show up completion screen as below and ask for a reboot.
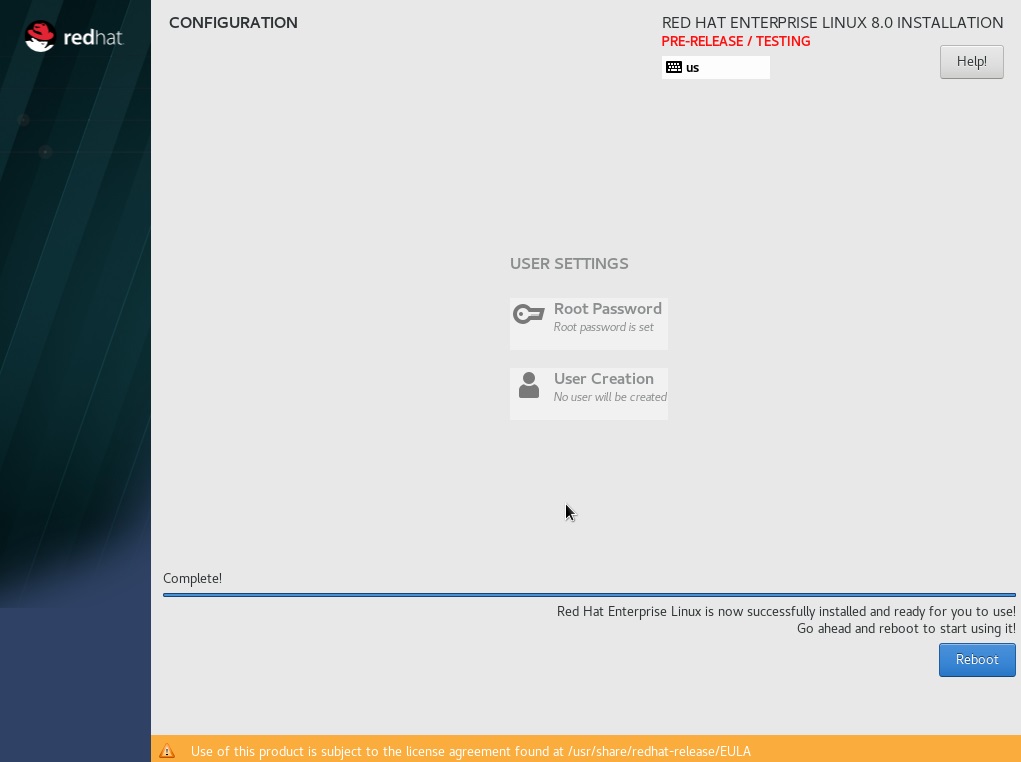
Click Reboot to enter whole new world of Red Hat Enterprise Linux 8.0 BETA!
System reboots and here you have first ever boot menu of RHEL 8.0
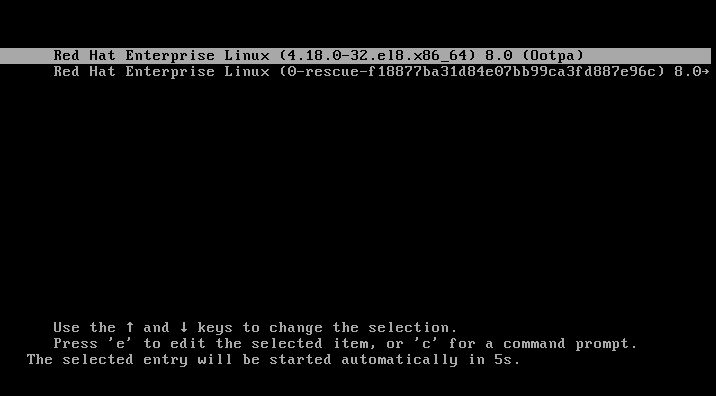
Default kernel will be automatically selected to boot in 5s. Let system boot and then login !!
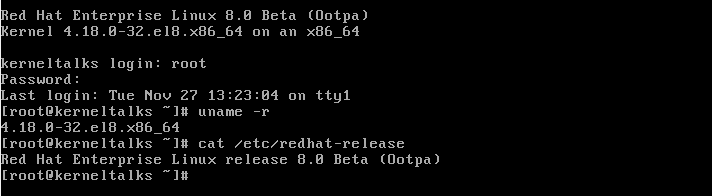
And here we are! On root hash prompt of RHEL 8.0 BETA!!!
You have successfully completed RHEL8 installation and now it’s ready to use.
Share Your Comments & Feedback: