Learn to install LAMP in RHEL. Linux, Apache, Mysql/MariaDB, Php/PHPmyadmin i.e. LAMP is a complete application stack used for development, testing & hosting dynamic websites.

LAMP is an application stack which helps you to develop, test, and host dynamic website. You can test dynamic applications as well with this stack. Basically LAMP stands for Linux Apache Mysql/MariaDB and PHP/PHPMyadmin.
Linux gives a kernel platform on which the rest of the stack runs. Apache provides your web-server which is front-end for your application or website. Mysql/MariaDB is a database you could use for data on your site or app. PHP is as you know server-side strong scripting language just fit for web application development.
Without any further delay, let’s run through commands to setup and configure your LAMP stack. For the demonstration, I will be using RHEL 7 on AWS here to setup LAMP.
Setting Linux in LAMP
Nothing to tell you here! Having a Linux server already pass you through this. Here are a few installations articles from our factory.
Setting up Apache in LAMP
Installing Apache is not a big deal now. Follow the below list of commands to install, enable, and start Apache webserver.
root@kerneltalks # yum install httpd
root@kerneltalks # systemctl enable httpd
root@kerneltalks # systemctl start httpd
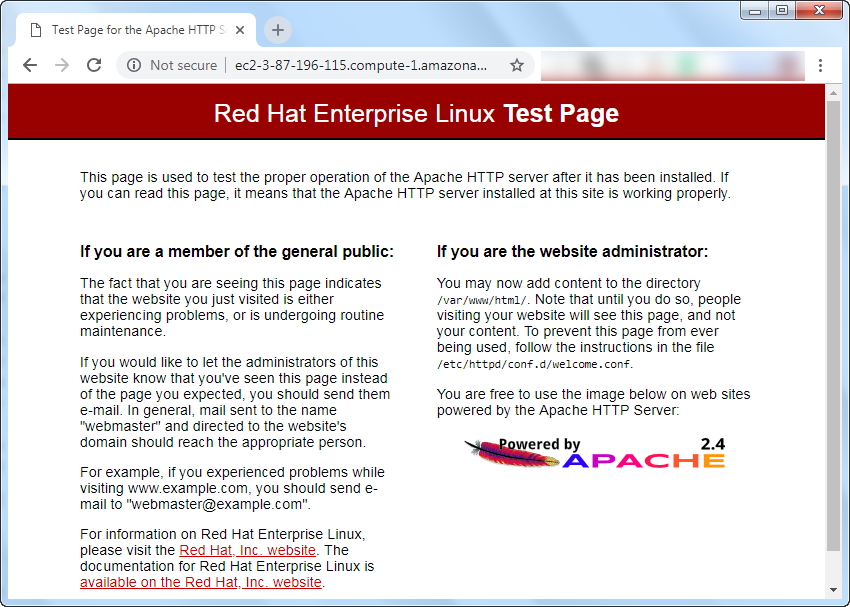
Check and make sure you get Apache welcome page in the browser after entering the IP address of the server. Open port 80 in Linux firewall, network firewall, or AWS security group if necessary.
We have a detailed tutorial to install Apache in Linux & install Tomcat Apache 9 if you want to refer.
Setting up Mysql in LAMP
MariaDB is a MySQL database we will be installing here. Use the below commands to install and start MariaDB.
root@kerneltalks # yum install mariadb-server mariadb
root@kerneltalks # systemctl start mariadb
Secure your MariaDB setup by running below command –
root@kerneltalks # /usr/bin/mysql_secure_installation

NOTE: RUNNING ALL PARTS OF THIS SCRIPT IS RECOMMENDED FOR ALL MariaDB
      SERVERS IN PRODUCTION USE!  PLEASE READ EACH STEP CAREFULLY!

In order to log into MariaDB to secure it, we'll need the current
password for the root user.  If you've just installed MariaDB, and
you haven't set the root password yet, the password will be blank,
so you should just press enter here.

Enter current password for root (enter for none):
OK, successfully used password, moving on...

Setting the root password ensures that nobody can log into the MariaDB
root user without the proper authorisation.

Set root password? [Y/n] Y
New password:
Re-enter new password:
Password updated successfully!
Reloading privilege tables..
 ... Success!

By default, a MariaDB installation has an anonymous user, allowing anyone
to log into MariaDB without having to have a user account created for
them.  This is intended only for testing, and to make the installation
go a bit smoother.  You should remove them before moving into a
production environment.

Remove anonymous users? [Y/n] Y
 ... Success!

Normally, root should only be allowed to connect from 'localhost'.  This
ensures that someone cannot guess at the root password from the network.

Disallow root login remotely? [Y/n] n
 ... skipping.

By default, MariaDB comes with a database named 'test' that anyone can
access.  This is also intended only for testing, and should be removed
before moving into a production environment.

Remove test database and access to it? [Y/n] Y
 - Dropping test database...
 ... Success!
 - Removing privileges on test database...
 ... Success!

Reloading the privilege tables will ensure that all changes made so far
will take effect immediately.

Reload privilege tables now? [Y/n] Y
 ... Success!

Cleaning up...

All done!  If you've completed all of the above steps, your MariaDB
installation should now be secure.

Thanks for using MariaDB!
Now you are running the MySQL database i.e. MariaDB and secured it too. You can test by connecting to database and running simple command –
root@kerneltalks # mysql -u root -p
Enter password:
Welcome to the MariaDB monitor.  Commands end with ; or \g.
Your MariaDB connection id is 18
Server version: 5.5.60-MariaDB MariaDB Server

Copyright (c) 2000, 2018, Oracle, MariaDB Corporation Ab and others.

Type 'help;' or '\h' for help. Type '\c' to clear the current input statement.

MariaDB [(none)]> SELECT VERSION();
+----------------+
| VERSION()      |
+----------------+
| 5.5.60-MariaDB |
+----------------+
1 row in set (0.00 sec)
Setting up PHP in LAMP
Install PHP to complete this step. Install PHPMyAdmin if you are planning to host a dynamic website using CMS like WordPress.
root@kerneltalks # yum install php
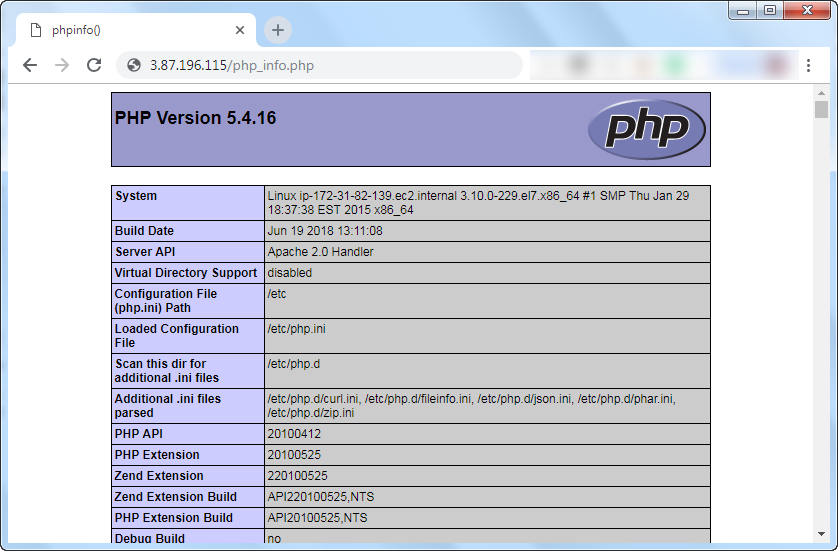
You can test sample PHP code like one below by placing it in /var/www/html (default webserver directory)
# cat /var/www/html/php_info.php
<?php phpinfo(); ?>
It will shows PHP information in web browser when you hit http://ip-address/php_info.php
How to list PHP extensions in Linux
You can check active PHP modules using the below command. If an extension is missing you need to install its corresponding package on the system. Generally, it follows naming convention like PHP-extension i.e. for curl extension you need to search and install php-curl or phpX-curl where X is PHP version
# php -m
[PHP Modules]
Core
ctype
date
dom
filter
hash
iconv
json
libxml
mbstring
mysqli
mysqlnd
pcre
PDO
pdo_mysql
pdo_sqlite
Reflection
session
SimpleXML
SPL
sqlite3
standard
tokenizer
xml
xmlreader
xmlwriter
zlib

[Zend Modules]
That’s it. You have a working web server (Apache), Database (MariaDB), and web development scripting language (PHP) running on Linux! Complete LAMP stack is at your service!
Share Your Comments & Feedback: